I've covered in past articles a number of different box camera designs, and today I'd like to discuss making pinhole cameras from photo storage boxes. As background, there are times when I've built pinhole cameras entirely from scratch, while other times I will notice a box or container in a store with some feature that presents itself as being a likely candidate for conversion into a pinhole camera.
Craft stores are a likely place to find such boxes, and one of the most common and least expensive are these cardboard storage boxes for photos and videos. These come in a variety of colors and surface finishes, but the ones that initially piqued my interest were finished in black felt, including along the inside edge of the lid, implying that they came already light-tight.
Some years ago, out of curiosity, I purchased one of these boxes in order to experiment with it, with the thinking that if it didn't work out as a camera then I could always use it for its original intended purpose, as storage. The first thing I noticed was that, although on its long side it could fit an 8" x 10" sheet of photo paper, it was too narrow on its short side; unless the paper were curved to fit, or trimmed to size.
Once converted to a camera, I initially made some test shots with the paper mounted curved inside the box, but movement of the paper while the camera was pointed downward caused some of the corners to be blurry, and so I subsequently converted it to hold the sheet of paper, trimmed to fit, instead flat against the inside of the box, using a cardboard holder piece, with gaffer tape handles for easy removal.
While deciding how to convert the box to a camera, I had to decide how best to orient the paper relative to the lid. While it might be easier to insert and remove photo paper into the shallow lid of the box, having the film located there would mean a higher chance of it being fogged by light-leaks from the nearby lid opening. Therefore I instead located the film into the bottom of the box; light leaking inward from around the lid would have to reflect off the inside surface of the lid and then into the box, before it could fog the paper; spray painting the inside surfaces flat black considerably reduced the possibility of such reflections.
So the pinhole and shutter are located in the lid of the box. A square hole is cut in the lid, lined with gaffer tape and the brass pinhole plate mounted over the hole, from the inside, with more tape. The shutter is a thin piece of masonite board that pivots on a screw - easy enough that anyone can make one.
Mounting the box to a tripod required a bit of thought. Since these boxes are essentially thin cardboard, they're too flimsy to directly install a 1/4-20 tripod bushing. Instead, I made a heavy plywood mounting plate with tripod bushing, to be mounted atop a tripod, big enough for the box to easily sit upon, and equipped with screw eyes for the attachment of bungee cords, that serve to hold the box securely upon the platform while allowing easy removal when needed.
This first photo storage box camera ended up being enough of a success that I went and bought a second identical box and made another camera, this one having a focal ratio of F/300, a bit sharper than the F/275 of the first.
In practice, I trim, pre-flash and load the paper negatives into both cameras while in the darkroom, then carry them around in one of those reusable shopping bags, along with a tripod, mounting plate and light meter. But that only gives me the possibility of two images, unless I also bring a changing bag and box of additional sheets of photo paper.
Because of this limitation, I later began thinking of ways to provide for more images while out and about with such a camera. One idea is to simply carry more one-shot boxes; but this can be ungainly and impractical. Another idea is to have a shallow compartment behind the film plane where several additional sheets of paper can be stored, to be swapped out within a changing bag. Though this would work, it also makes the focal length of the box even shorter, the angle of view even more severely wide. Although I could have then extended the focal length by moving the pinhole/shutter further from the paper, with the addition of an extension box atop the lid, in the end I decided on a different configuration entirely.
Instead of the near 8" x 10" image size, I decided that 5" x 7" would be a sufficiently large format while permitting the installation of a two-slot paper storage compartment inside the box. So I went back to the craft store and bought another photo storage box. Although I couldn't find the felt-covered boxes (they seemed to have been in stock for only a few seasons), I did find a box already colored flat black inside and out.
This new camera ended up being oriented vertically, with the storage compartment in the bottom half, the camera chamber in the top and the lid along the front side. A heavy plywood mounting plate, with tripod bushing, is permanently bolted to the bottom side of the box, providing for a stable support and low center of gravity.
The internal paper storage box is made from foam core board, cardboard and gaffer tape, and is installed in the camera such that its open end is oriented opposite the camera chamber, pointing down, to prevent stray pinhole light from fogging the paper stored within.
In use, the camera is removed from the tripod and zipped up inside a changing bag, then the elastic bands securing the lid are removed, along with the lid itself. The storage compartment is then flipped around so its slots are pointing up, and the paper changed out; there's enough capacity in the storage container for several hundred sheets of paper. A piece of cardboard is used as a bracket upon which the negative is mounted via a loop of drafting tape, providing for easy removal and installation.
The shutter and pinhole assembly are very similar to that of the other one-shot box design, mounted in the box lid but instead mounted off-center, so as to be located directly over the camera-chamber-half of the box.
I've made a video about these two kinds of photo storage box cameras; the embedded You Tube link is at the top of this article.
This is not the first storage-slot type of pinhole camera I've built; I believe the last four or five have employed this design, all requiring the use of a changing bag within which to swap out the paper between shots. While this method does indeed provide for a practically unlimited number of exposures, that practicality is offset by the inconvenience of having to, after every exposure, remove camera from tripod, zip up into changing bag, swap out paper, unzip from changing bag and remount to tripod. It also implies that some sort of makeshift seating area needs to be found every time.
One possible alternative that I keep kicking around is to build a light-tight arm sleeve into the back of a box camera, permitting the paper to be changed out while it remains mounted upon the tripod, needing only one hand to operate; but that's a project for another day.
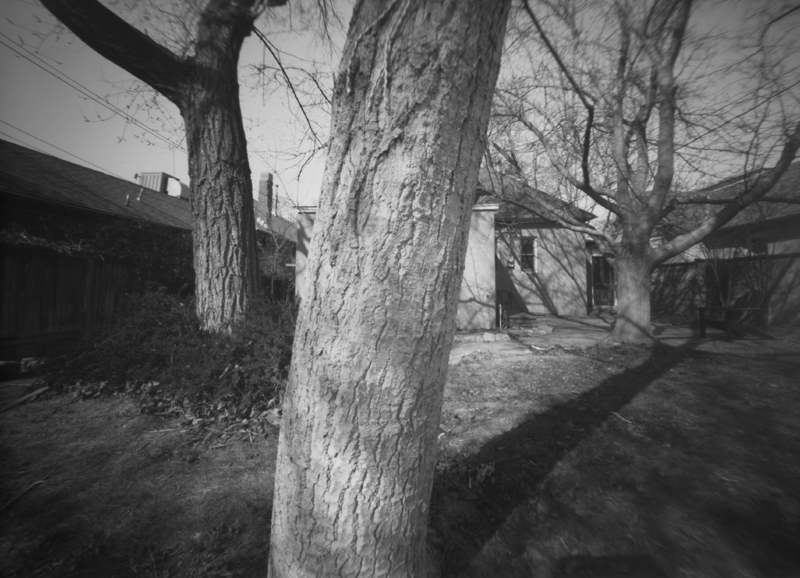
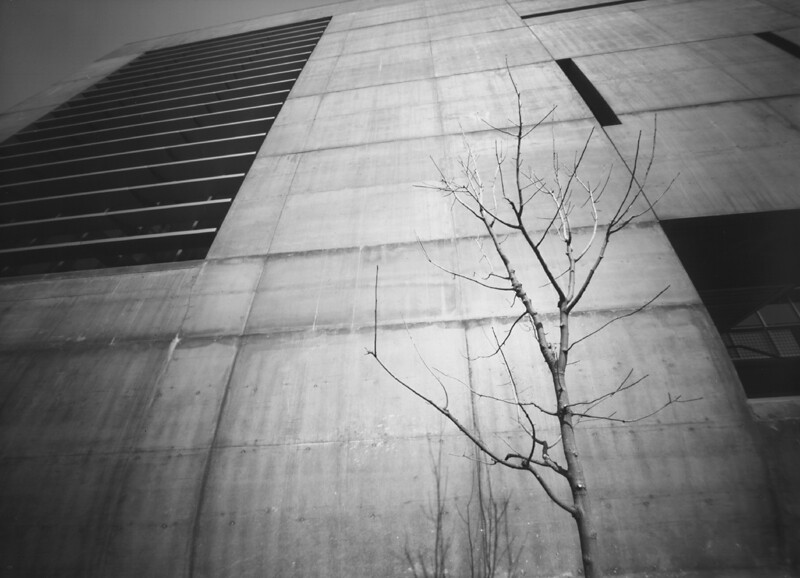
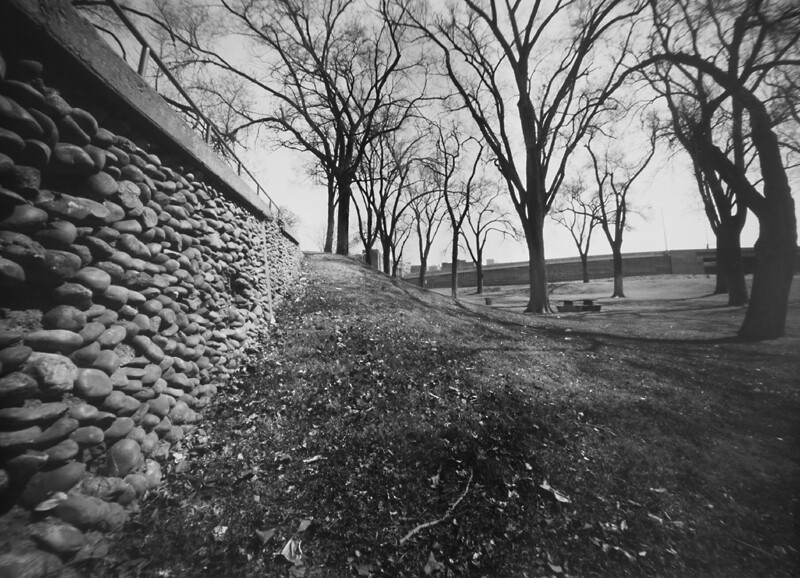
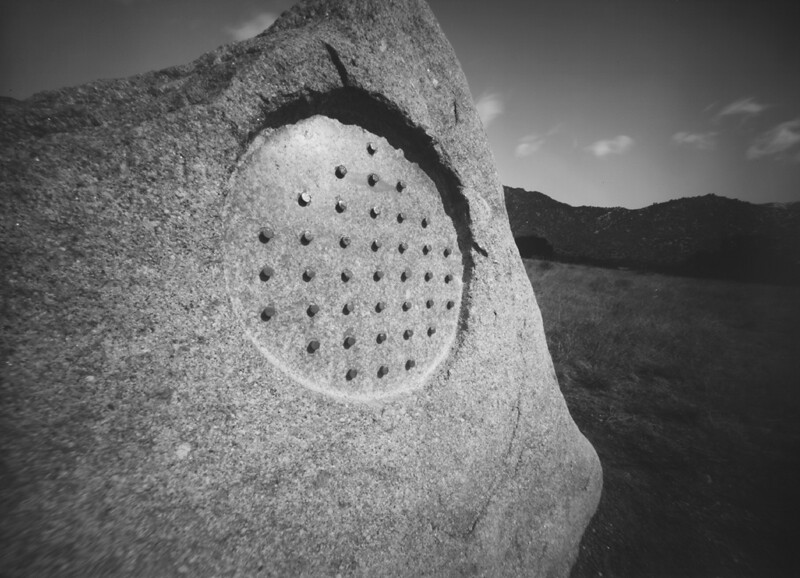
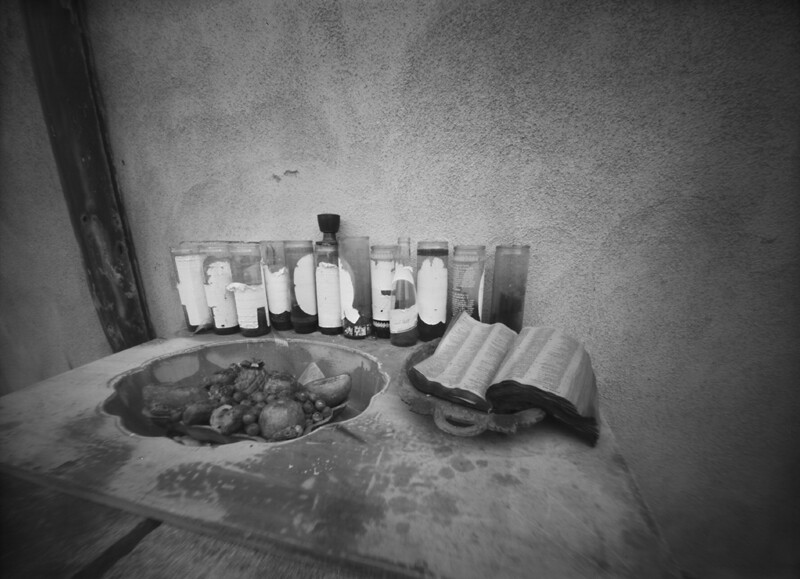
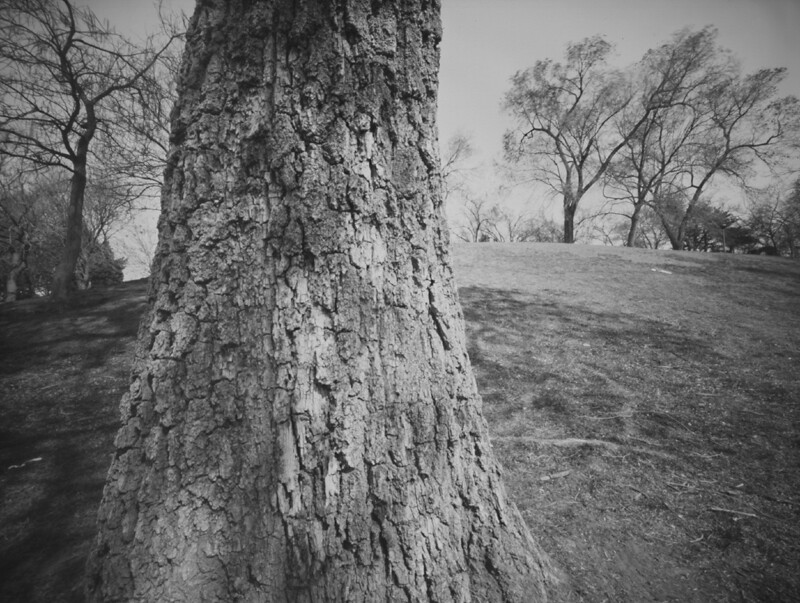
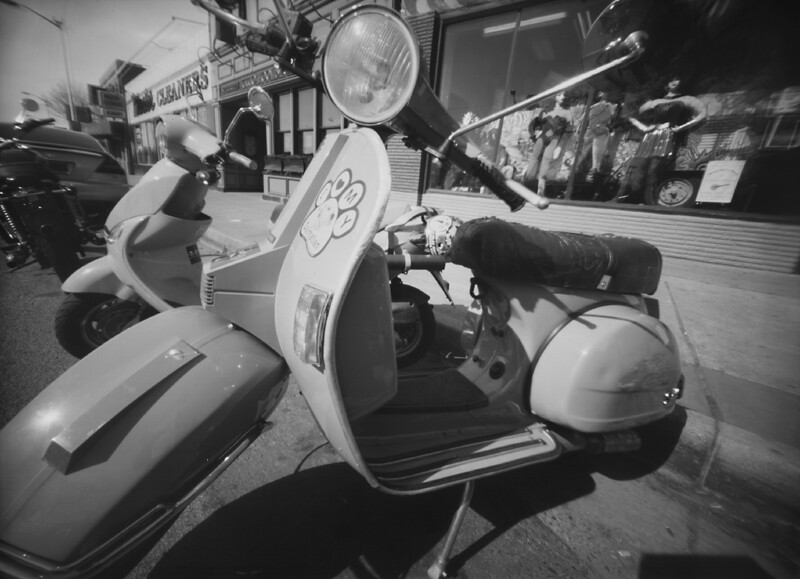
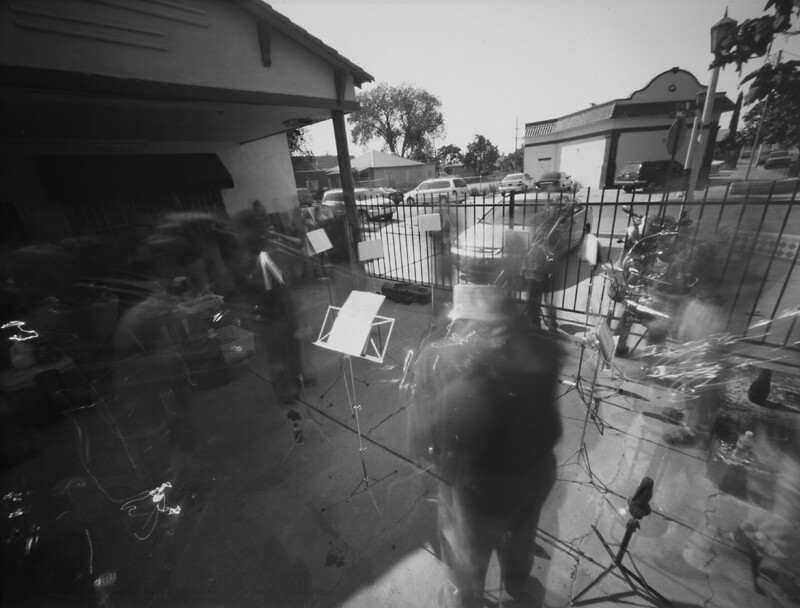
Post-script: A sampling of images created with both the F/275 and F/300 one-shot photo storage box pinhole cameras, using pre-flashed grade 2 RC paper negatives.
Excellent Joe & thanks for sharing your handy & clever ideas!
ReplyDelete