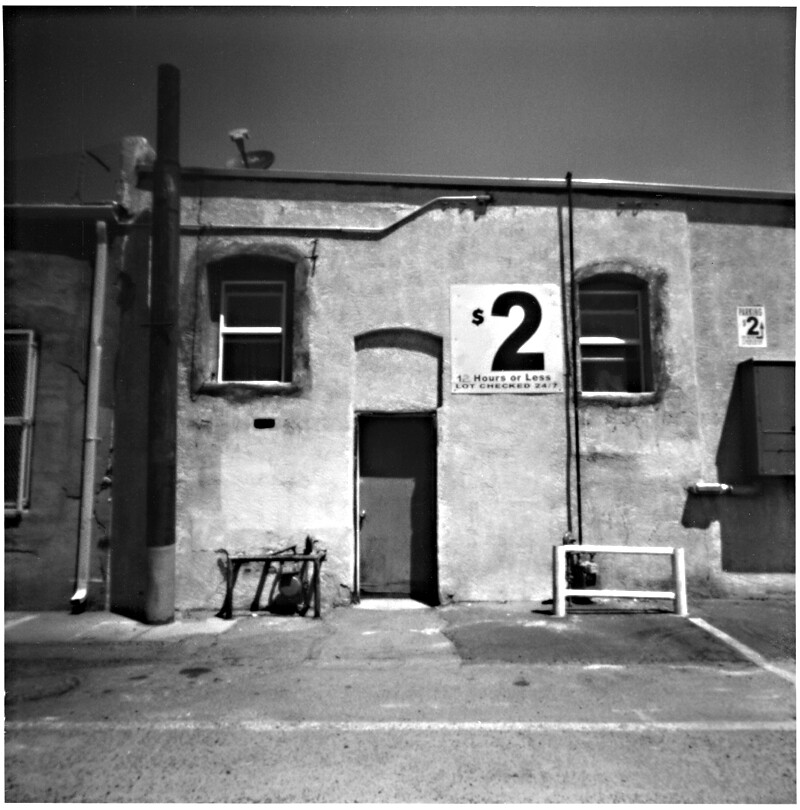
Fuji Acros 120, printed onto Ilford MG RC WT paper
I don't always create pinhole images with handmade cameras and photo paper, though most of my pinhole history has involved doing just that. But there was a time, a few years ago, when my curiosity got the better of me and I plunked down money for a commercially-made pinhole camera, Holga's 120-format Pin Holga.
It seems natural that Holga would have eventually released a pinhole version of their ubiquitous plastic camera, since they already had the bulb-mode necessary for the lengthy exposures required of pinhole cameras. However, what I found necessary to make the camera a bit more practical was purchase of the optional shutter release cable accessory, a plastic bracket that clamps around the lens housing and positions a threaded metal insert directly above the camera's plastic shutter button; without this accessory you'll find yourself having to hold down the shutter button for the duration of the exposure, introducing unnecessary motion blur to the image.
As for the quality of the pinhole itself, I found it to be a reasonable compromise between sharpness and practically short exposure times. The biggest issue for me is that the position of the pinhole, in what would be the camera's lens mount, precludes it from offering a truly wide angle of view, and thus the resulting images lack that corner vignetting so common with their other cameras. I suspect this was made necessary by them having to use their standard leaf shutter mechanism from the lens cameras, whose position is simply too far forward to permit wide angles of view.
I would assume that a resourceful person, needing a wider angle of view, could hack a Holga with a simple lens cap shutter, dispensing with the lens housing and leaf shutter protruding from the front of the camera body altogether, and mount the pinhole inside the camera body closer to the film plane.
I found the Pin Holga simple and practical to use, with its tripod bushing, reasonably modern film advancement mechanism, window-style viewfinder and shutter release bracket in place. One modification I did make (Holgas seem to invite customized improvements) was the application of some hook-and-loop tape around the rear door area, to prevent the flimsy clips, that serve as both door locks and strap lugs, from moving and risking the door falling off with a roll of film inside. I also have a piece of tape over the film counter window, as a just-in-case measure against light leaks; because you just never know.
While I do enjoy the lightweight, compact size of the Pin Holga, something about it just doesn't draw me to using it all that often; perhaps it's because of its more narrow angle of view, or the cost of medium format film and processing, or having to, in the case of black & white film, print each frame individually in my darkroom. Yes, the convenience of Harman's Direct Positive Paper has spoiled me, somewhat.
In comparison, using the 2" square-format brass plate camera, discussed in the last article, seemed much more enjoyable, and the results more pleasing.
I suspect that part of the reason is because, for me, working with various paper media is more enjoyable and convenient, the results easier to scan than film. And I've been working with paper negatives for several decades (and more recently Harman DPP) and have become more accustomed to the process.
One thing I have done (not with the Pin Holga but with lensed Holgas), demonstrated in one of my You Tube videos, is to load individual sheets of the Harman paper, via my darkroom, and use the bulb shutter to make timed exposures; perhaps I should break out the Pin Holga once again and try that out.
No comments:
Post a Comment
Please leave a comment; I will curate them before posting.