Showing posts with label Gossen Luna-Pro F. Show all posts

Tuesday, June 14, 2016

Film Canister Pinhole Camera Project Update


P1000583a
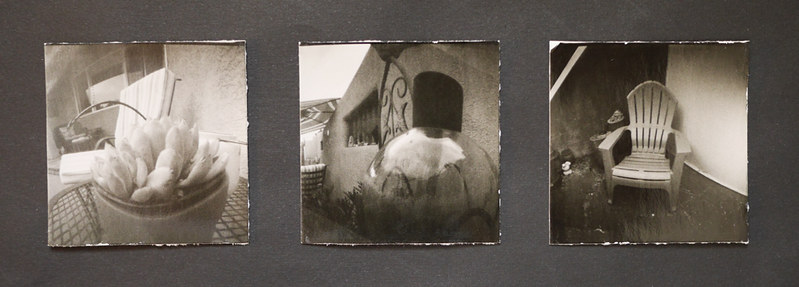
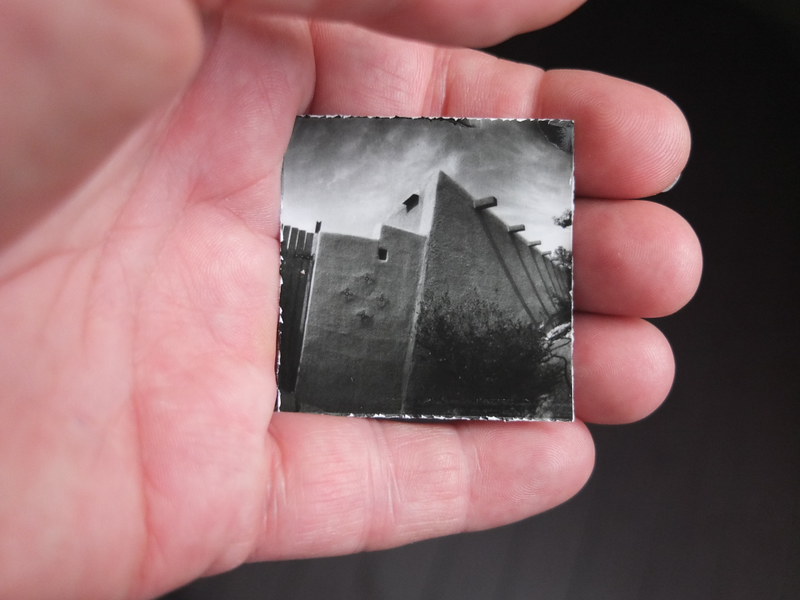
Three new prints from the film canister pinhole camera project

It's been a few weeks since I began delving into this film canister pinhole camera project, and along the way I've made a few improvements and changes, which I'll share with you today. As you might recall, I was having issues with the black tape used as the shutter on these small cameras, because being adhesive, as you peel off the tape it's very easy to move the camera, resulting in a blurry image. Also, because the canisters are made of soft plastic, they shouldn't be gripped too tightly, which might cause their caps to pop off and fog the paper inside.

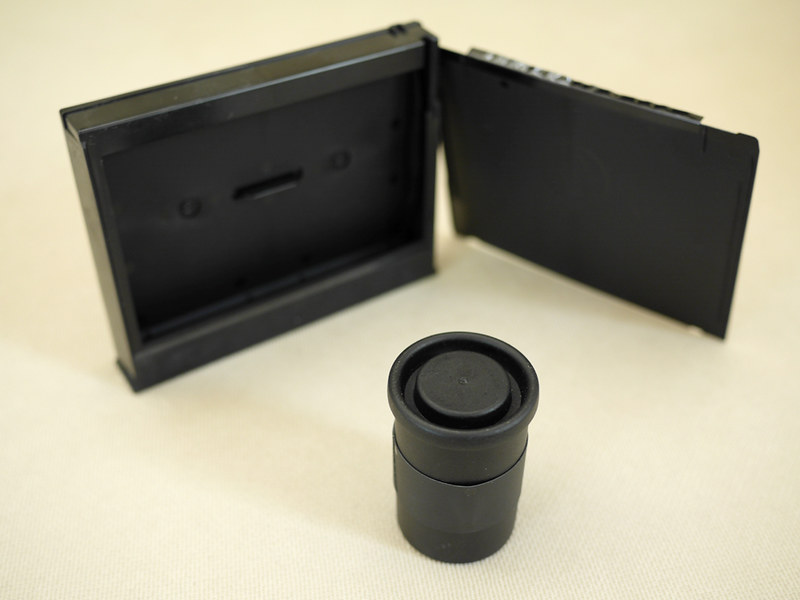
So I had to find an alternative, more mechanical, form of a shutter device. I had some ideas, but was also helped by readers of this blog and viewers of my You Tube video. I ended up making plastic sleeves that fit snugly around the periphery of the cameras, that slide up and down to control the exposure. These were made from the black plastic dark slide sheets that get ejected from the Fujifilm Instax Wide instant film cassettes, which I've been saving for a purpose such as this.
P1000574a
Fujfilm Instax Wide empty cassette and dark slide

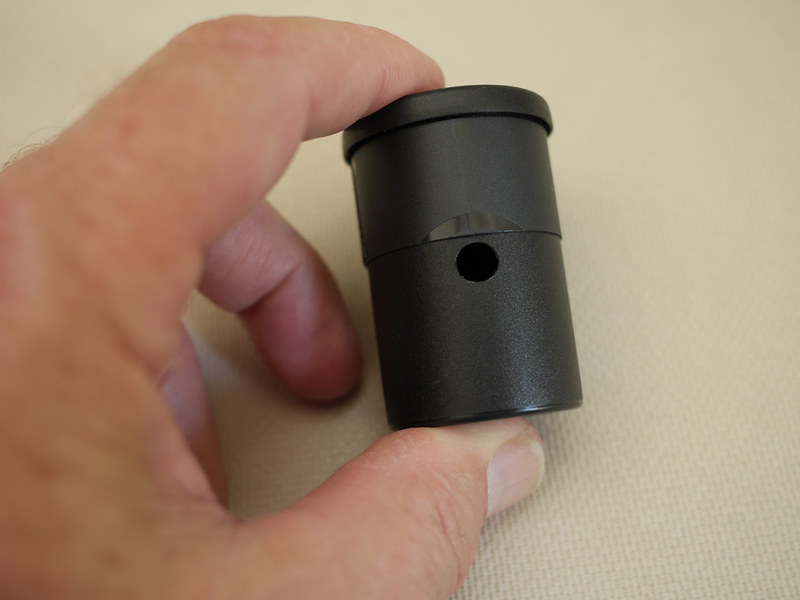
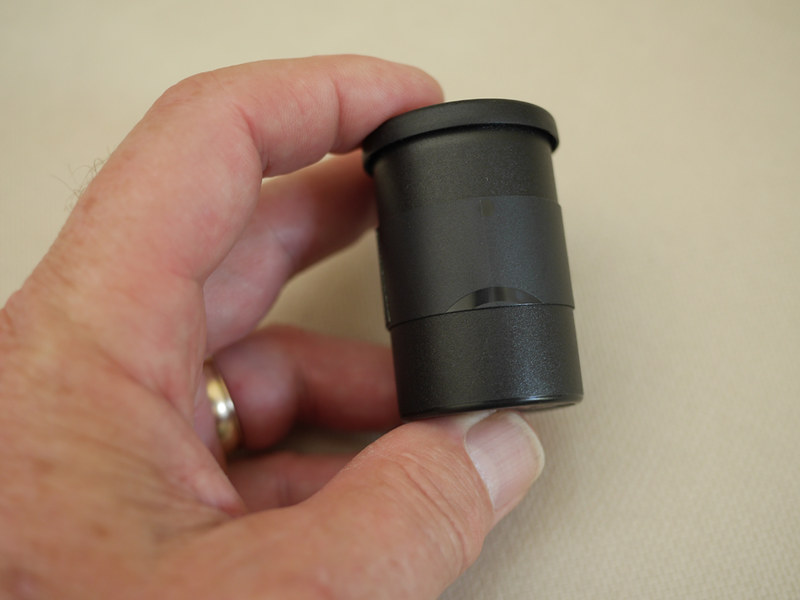
I trimmed the edges of these dark slides so they were square, then into 18mm wide strips, that were then taped to the canisters using gaffers tape. They weren't quite long enough to extend all the way around the periphery of each canister, thus I used a thin piece of gaffers tape mounted backwards on the middle section of each piece of gaffers tape to prevent the tape from binding on the body of the film canister. Because the canisters are slightly tapered, the shutters fit snugly in place, and can be easily raised up into the exposed position without moving the canister on its magnetic mount. Once the exposure is complete they push back down into the closed position easily.
P1000576a
Shutter in closed position

P1000575a
Shutter in open position

I also made a change to my exposure method. I usually set the meter to the Harman Direct Positive paper's ISO (I use a value of 8), then reference the exposure time recommended by the meter opposite f/128 and apply a correction factor to account for the difference between the cameras' focal ratio and the f/128 metered value. For these cameras, whose focal ratios were around f/120, that correction factor was about 0.94. What I did this week was to artificially rate the paper's ISO at 10, instead of 8, and directly reference the exposure time for f/128, without applying any correction factor. This enables me to arrive at the correct exposure times without having to resort to the use of a calculator, which streamlines the process when out in the field.

Another problem I'd been having were intermittent scratches or gouges in the prints, revealed as small white marks, which turned out to be caused by the sharp edges of the radial struts of the steel film reels. As you might recall, I process these small prints, rotary-style, using a steel 35mm film developing tank employed as a makeshift rotary drum. I'd place the prints in the gap between the reels and the inside surface of the tank, emulsion side facing inward. What I did this week was to entirely remove the reels and instead apply a small loop of drafting tape on the reverse side of each print, to assist in adhering them to the inside surface of the tank while processing; the tape is sticky enough so the prints don't come loose while processing, yet are easily removed afterwards without harming the paper or leaving residue.

As you might recall from previous videos, I process the Harman Direct Positive paper for three minutes, rotary style, using Ilford Multigrade or Universal paper developer diluted 1 + 15, for a volume of 100mL.
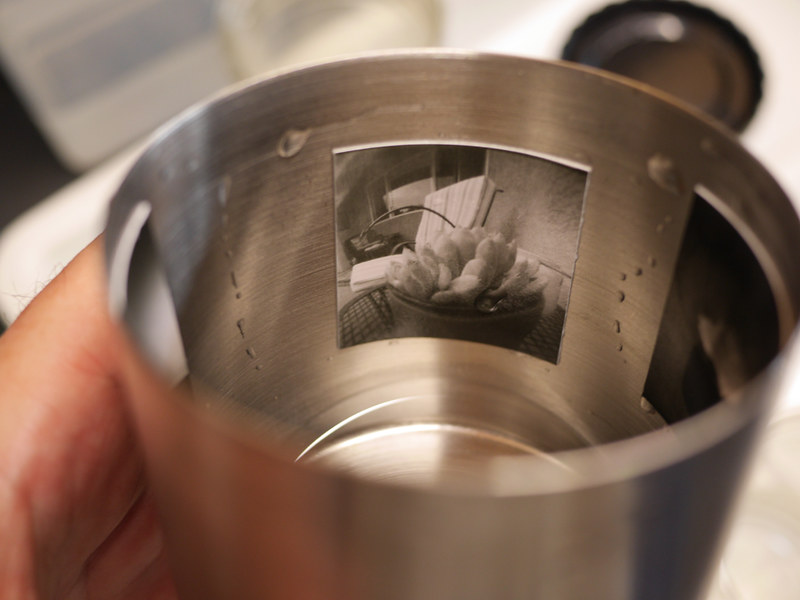
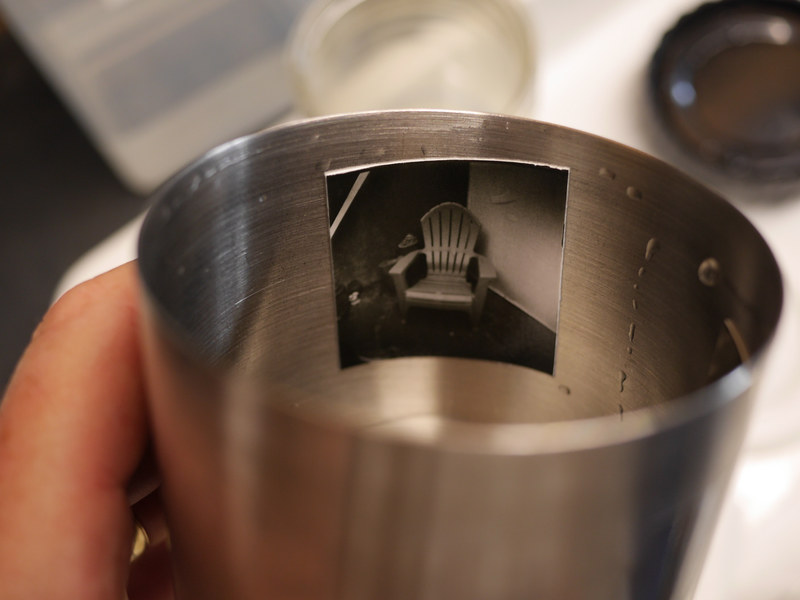
P1000578a
P1000577a
Two of the prints, right after the tank has been opened post-processing

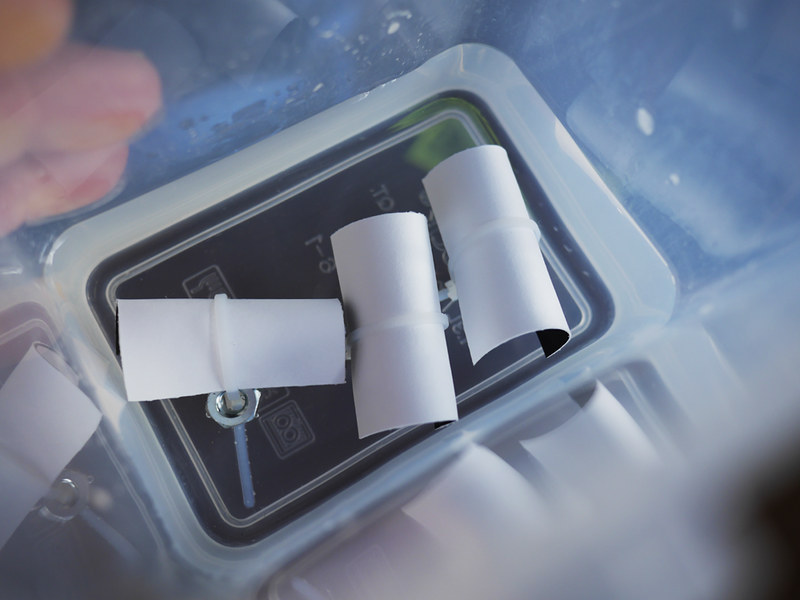
Because these prints are so small, they don't stay immersed in the rinse bath, since they have a larger edge length-to-surface area ratio. Therefore I made these weighted cable-tie loops, within which each print is curled, taco-style. The prints are bent along their natural curve axis. They stay nicely immersed in my rinse tank; which I take outdoors and, using a garden hose under my tree, water my landscaping instead of wasting the rinse water down the drain - I do live in an arid climate, where fresh drinking water is precious.
P1000579a
Paper rinsing clips in the rinse tank

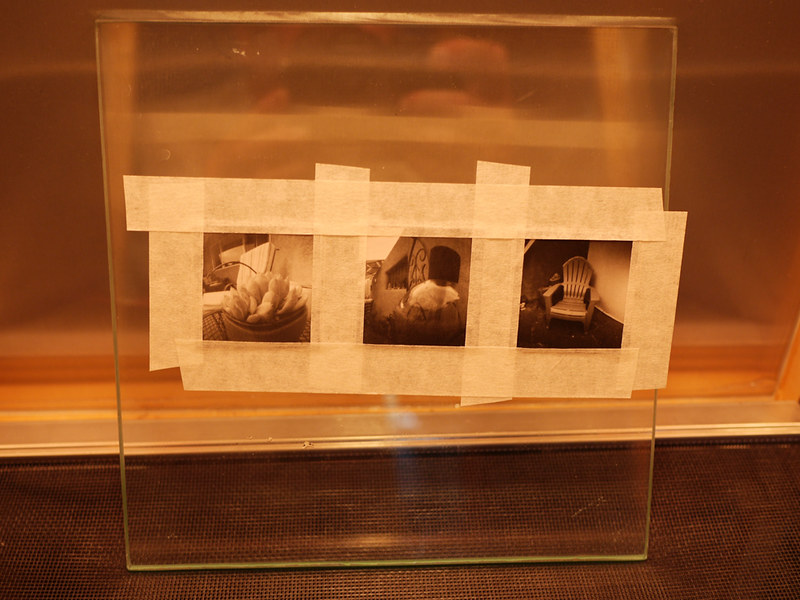
I use the same drafting tape mentioned earlier to mount the prints on a sheet of glass, where they dry inside my film drying cabinet and end up very flat; while afterwards the tape is easily removed without damage to the emulsion.
P1000580a
Prints drying on a sheet of glass in the drying cabinet

I tested this new methodology with three of the canister cameras, the results which you can see in the top photo. Going forward, this is going to be a very fun kit to employ in creating these miniature photographic gems.

Tuesday, May 31, 2016

Film Canister Pinhole Camera Project

DSCF4967a
An exquisite little jewel of a print that fits in the palm of your hand

Last week, after a long, long hiatus from much of any pinhole or gelatin silver photographic work, I embarked, in a sudden fit of inspiration, on a mad rush to build a set of nine pinhole cameras from black 35mm film canisters. Why the sudden inspiration, after all this time of little creative photographic output? Hmm. Best not to question the Muse, but rather to strike while the iron's hot; there'll be plenty of time, down the road, to ponder the whys.

My intention was for this set of small cameras to use Harman's Direct Positive paper, cut down to 1.75" square, which after a standard processing in black & white chemistry produces one-of-a-kind, fiber paper prints. Think "wet Polaroids" and you get the general idea.

DSCF4970a
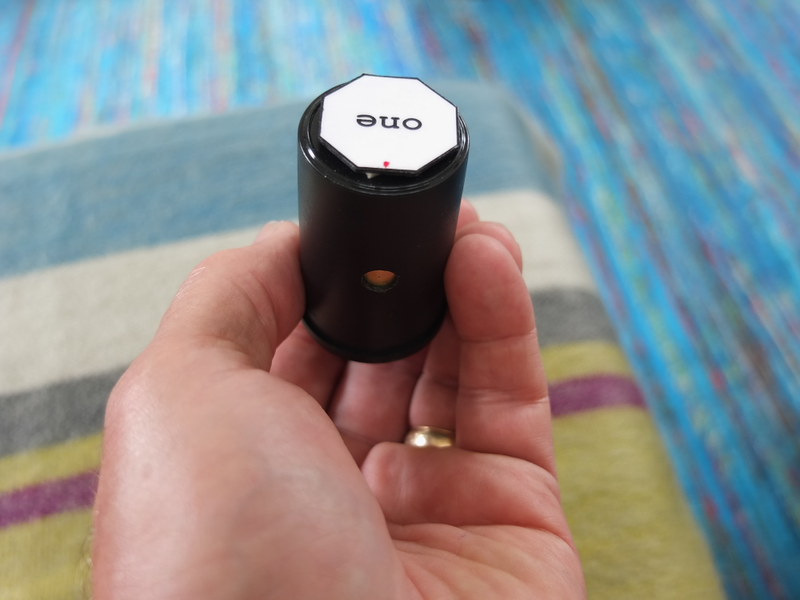
Camera number one, with black tape shutter removed. The red dot on the cap indicates the direction of the pinhole.

My previous experience with this paper in pinhole cameras has shown that it doesn't tolerate lengthy exposures in cameras sporting hefty focal-ratios, since I rate its "exposure index" (the fancy term for the paper's "film ISO") at a value of 8 - much, much slower than what one might expect in a modern digital camera, for example. Given the paper's slow "speed" and the minute apertures found in bigger pinhole cameras (whose focal ratios often extend in the 100s), a smaller-sized camera, with a shorter focal length, would have a more reasonable f-number, yielding exposures short enough to be practical. In the case of these cameras, their f-numbers come in at around f/120 or so. I say "or so" because all nine of the pinholes were made by hand, and thus might not be exactly identical; but they're close enough.

I made the pinhole into 2-mil (i.e. 0.002" thick; NOT 2 millimeters) sheet brass, using a sewing needle and 600-grit emery paper. I've made a video to demonstrate my pinhole making technique, linked below.


Making Pinhole Camera Apertures

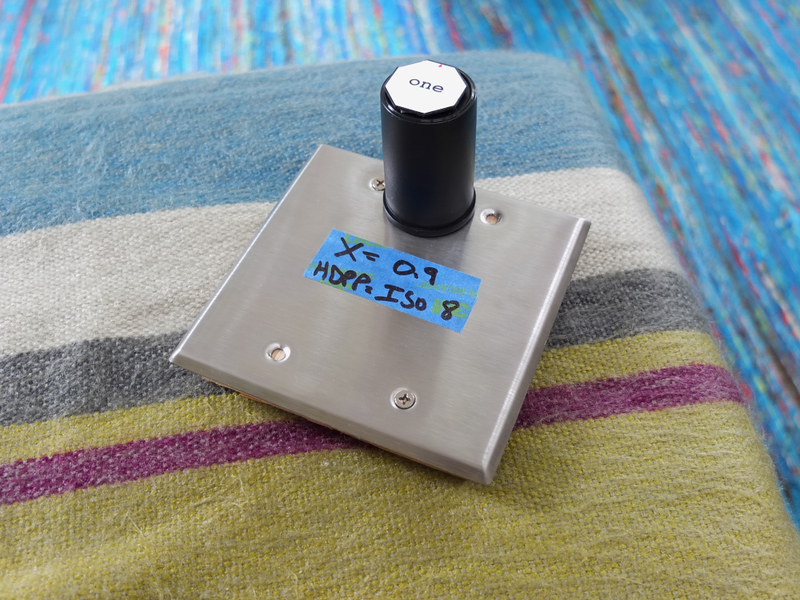
After doing a fairly good job at making the cameras themselves, and their little storage box, I had to decide how to use them with a tripod. After over-thinking it with ideas of pipe clamps and whatnot, I finally hit on the simply elegant idea of using the power of magnets, like Jessie Pinkman in the AMC series "Breaking Bad." Yea! Magnets, b*tch! (If you don't understand the reference, Google is your friend.) I installed magnets on the caps of each camera, which mate with a metal plate, screwed to a wooden base with tripod fitting underneath. I can place multiple cameras atop the metal plate, and the attractive force is strong enough to keep the cameras secure in almost any position.

DSCF4971a
Camera number one atop the magnetic tripod head

This morning, I took these little cameras out into my front and back yards, to make a series of test images. My standard metering and exposure technique is to use a Gossen Luna Pro F meter, set to the paper's exposure index of 8, using either reflective or incident metering (I used both during today's tests); reference the exposure time recommended for f/128, then apply the correction factor for the cameras' focal ratio. Since these cameras were about f/120, and the correction factor was about 0.9, I ended up just using the f/128 reading itself for about half of these shots; close enough for the tolerances of the process. This also represents a convenience factor, since I can use the meter reading directly without having to pull out a calculator to do the conversion.

All the cameras worked as expected, no light leaks noted, and the exposures were all pretty good; there was one image, of irises whose leaves were in bright sun but background was heavily shaded, where I metered the leaves themselves, and ended up with them being around medium-gray in tone, with the background almost completely black. Again, as one would expect; for a better image I should have added a +1 compensation to the exposure to brighten those leaves. I also did not do any pre-flashing of these prints, as I normally do with Harman Direct Positive paper (and also paper negatives), as I wanted to see the images straight away as the cameras record them, without any additional compensation.

Another image was taken in shade, with an exposure time of 55 seconds, the longest of the session, and it came out fine, with a good tonal range (as one would expect of this paper in shaded light), further proof as to the accuracy of my pinhole measuring technique.

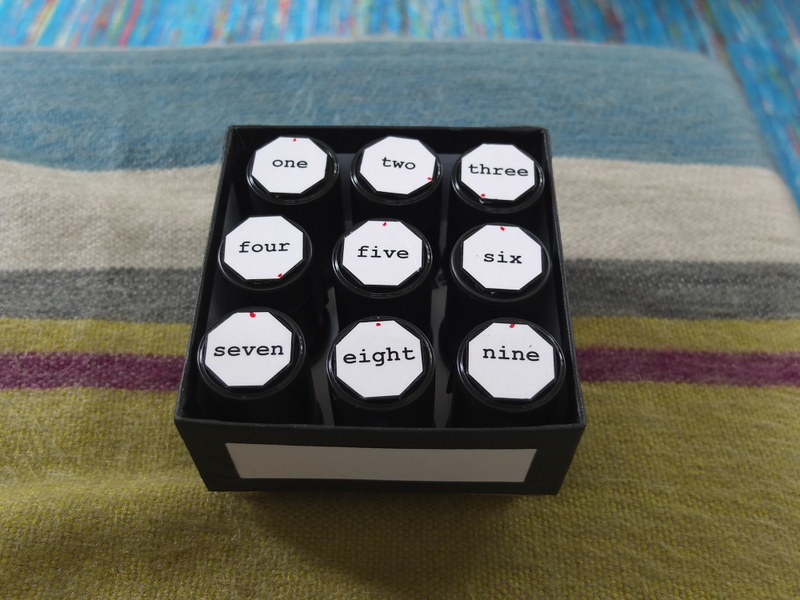
In actual use, I keep the cameras in the box with their lids facing downward, the bottoms of each canister having a clearly visible number label affixed via double-sided tape. I start with camera #9. After its exposure, it goes back in the box cap-side up, so its number is no longer visible; so then, the highest numbered camera is 8, telling me that I have 8 exposures left. Simple but effective, and keeping me from getting confused, while out in the field.

DSCF4968a
The set of nine pinhole cameras in their carrying box

For shutters on the cameras, I've gone with the simple but elegant method of using black electrical tape. Best not to over-engineer what should be a very simple camera.

I've made another video documenting this project.


Film Canister Pinhole Camera Project

As I indicate at the end of that video, my desire is for this to be the start of some "serious" pinhole work, and not merely another camera-building project. I've built countless pinhole cameras over the last few decades, but much less have I seriously employed them in the service of some long-term documentary project. I hope this marks the start of a long stretch of productive pinhole creativity.

For those of you technically-minded, the pinholes were about 0.2mm in diameter, with the nominal focal length about 27mm (the curved film plane in the canisters ranges from 25mm at the center to 30mm near the edges). I expose the Harman paper using an exposure index of 8, then process them in a makeshift rotary drum (a standard metal 35mm tank laid on its side) for 3 minutes in a 100mL volume of Ilford Multigrade paper developer at a concentration of 1 + 15, followed by standard stop bath, fixing and rinsing.

Friday, November 20, 2015

Message Received from Ojito Wilderness

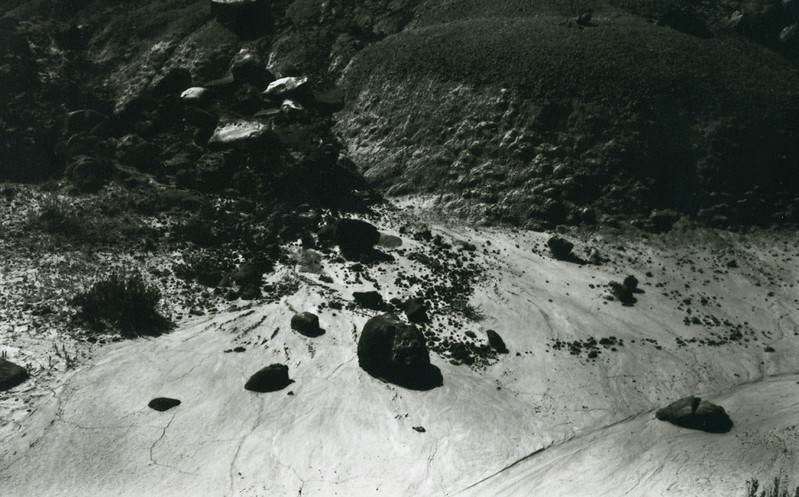
Kokapeli's_Rock_Garden001a

I'm standing in the hot, dry wasteland of the Ojito Wilderness, the sun blindingly bright reflecting off the hard-packed talus. I come here regularly, as it represents a relatively easy-to-access scenic area from nearby Albuquerque, from where I drive north 20 miles to the town of Bernalillo, then on US550 northwest another 20 miles, then onto Cabezon Road, bare dirt and sometimes barely passable, another 5 or 10. The Ojito is BLM (U.S. Bureau of Land Management) managed land, meaning that it's public access. Cabezon road winds west through the Ojito, where it meets the main electrical power transmission and gas lines from the Four Corners area of the State that feed Albuquerque.

There's a particular spot I park at, directly adjacent to Cabezon Road, that doesn't involve getting into loose sand or otherwise risk getting stuck. From there it's a short hike to a scenic area with otherworldy rock formations, that seem to morph and change over the seasons of wind, snow and rain, as if the terrain were some slow-motion monster whose presence one must always heed. Nearby my truck is a shallow trench being eroded away by snow and rain just slightly below ground, as I carefully place my footing, not wanting to fall through into some earthbound abyss.

On this day I had the F/300, 5"x8" format falling plate pinhole camera, and the formations of interest were this textured hill and foreground with volcanic-like rocks littering a bright, parched surface. The camera would need to point down to get the composition I wanted.

I used the viewing dots on the sides and top of the box camera to frame the shot, adjusting the tripod as required, then metered the scene using reflective metering with my Gossen Luna-Pro F. Once my exposure was determined, I waited for the breeze to subside before opening the shutter - there's always some air stirring about in this climate.

I finished the batch of film that had been pre-loaded into the camera on other compositions, which involved some tricky hiking down steep slopes of soft sand or talus, but this image I had high hopes to be the best from that day; and I wasn't disappointed. I returned to civilization excited at the prospect of what I had recorded, but also knowing there would be yet another day's opportunity in the Ojito Wilderness.

Technically, I was satisfied to have captured a pretty decent tonal range, getting both dark shadow detail and the tricky highlight of the desert floor.

Yet, there's something otherworldly about this image, as if it could have been from some NASA Mars probe instead of the American southwest. Which serves as reminder that we do live on a planet, Spaceship Earth, orbiting the same star as does Mars; and that this is just as much science as art; the photons of light that struck the crystals of silver halides in this film had their eight minutes of freedom through interplanetary space, then passed uninterrupted through the tiny pinhole aperture, until their flight was ended herein; this being a mere record of the event.