Showing posts with label roller base. Show all posts

Wednesday, July 20, 2016

Recent Pinhole-Related Videos

P1000577a

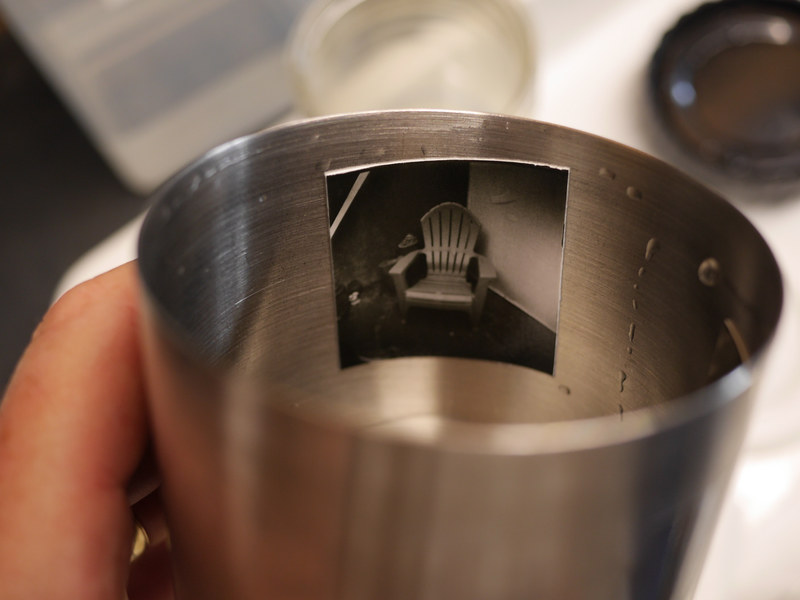
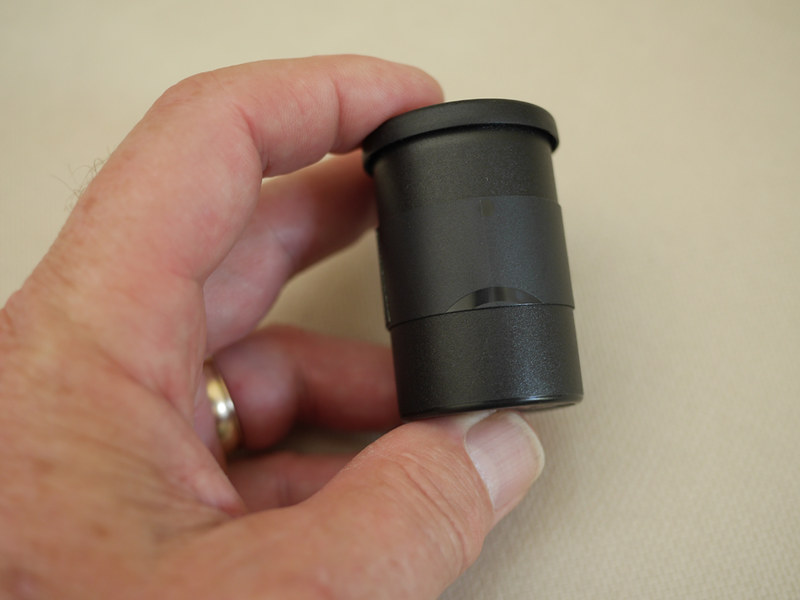
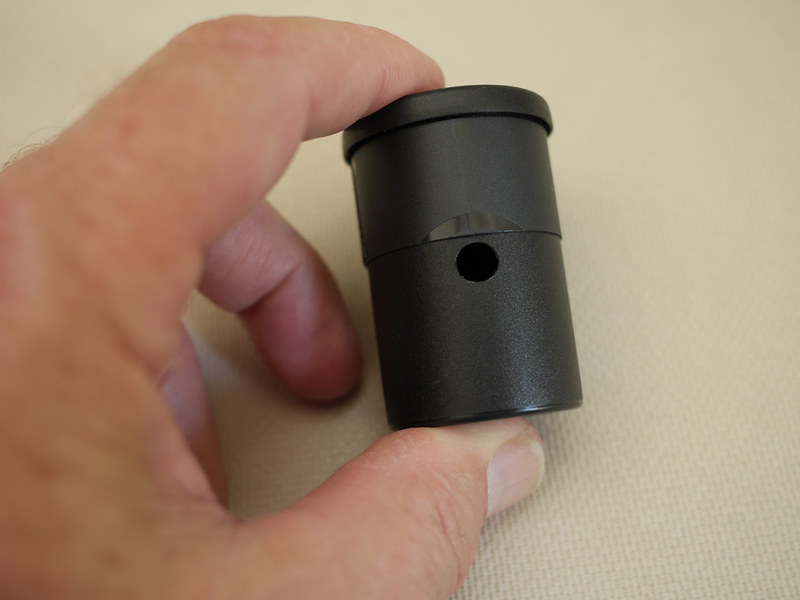
This week I posted a two-part You Tube video that covers the complete process of Harman Direct Positive Paper in pinhole cameras, specifically using my set of nine film-canister pinhole cameras. The videos cover everything a person would need, from cutting the paper to size, loading the cameras, equipment needed in the field, aiming the cameras, determining exposure via a light meter, unloading the prints to a film developing tank and the entire method of rotary processing these small prints using a metal 35mm day tank.

I felt it necessary to make this two-part video because, even though many of these individual steps have been covered in previous videos, having them all in one production might make more sense to some people. My desire is to encourage more people to discover for themselves the simple joy it is of working with this remarkable medium, that yields exquisite little gem-like prints from a humble pinhole chamber and paper processed in a simple 3-part procedure.

We do live in a remarkable era, photographically speaking, because we have at our avail the most contemporary of digital imaging systems while also enjoying a resurgence of interest in historic photographic processes, along with unique products such as this direct positive paper.

Personally, I've been doing less digital photography in my free time, instead putting more time into various video projects, not only photographically related but also a series involving typewriters as the theme. Yet at the same time, I've begun to slowly shoot more black and white film, home processed and scanned, along with these direct positive pinhole prints. It's a satisfying mix of technologies, working within the medium of video while at the same time working with gelatin silver imagery, the best of the old and the new. Too, video and still photography work to tell stories and engage the viewer in differing ways; so I see these as complementary activities, rather than competitors.

This last week I finished a roll of Ilford HP5 Plus in my Minox GT-E, while I'm just now starting a roll of Ilford FP4 Plus in a Yashica T4 Super. I'm enjoying being able to put these various cameras from my collection through their paces, enjoying each of their respective unique attributes as film cameras, while also stretching my film-processing legs a bit more.

Here are the links to the two-part video series about the pinhole camera process. Enjoy.

Part One:


Part Two:

Tuesday, July 5, 2016

Returning to the Scene of the Crime

DSCF5013a

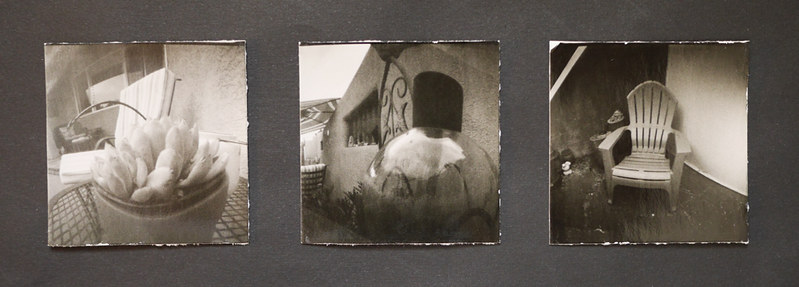
Slow and methodically I've been using up this latest round of Harman Direct Positive prints in my set of nine film-canister pinhole cameras. Every time I do so, it's been in quantities of three, enough to develop in one batch in the 35mm steel development tank. Three seems a good number; a triptych, in quantity if not in actual intention.

To do this, to make the creating of these little gem-like prints part of one's private life, means that there has to be a sense of balance between the desire to chuck it all, ignore family, friends and obligations for the obsessive pursuit of one's Arte, and maintaining peace in one's life and relationships. In the past, I've been much more apt to obsess over the pinhole photography process, each outing a mission dedicated to the One Big Objective of returning with some trophy-like images - or don't come home at all.

DSCF5019a

These days, I'm a bit more laid back. For one, I've eased back on my expectations, happy with one or two good prints, even if they are small enough to fit in the palm of one's hand. Also, the gear is small enough to easily carry, even with a modest tripod. I'll carry a small day pack, with tripod in hand, metal camera mounting plate attached. Once I find a promising scene I'll get the tripod set, meter the scene and then pull out of its storage box one of these little cameras. The typical scene might only take all of a minute to set up, meter and expose. Quick, and expeditious. Then, I can get back to the business of whatever the day requires. No day-long pinhole expeditions, no choosing between creativity and life's responsibilities. Just fit it into those interstitial moments that have so much to do with whether a day has been successful and rewarding, or not.

Honestly, if I could be satisfied with a short, handheld tripod and the restrictive compositions it might limit me to, this whole process would be that much less obtrusive.

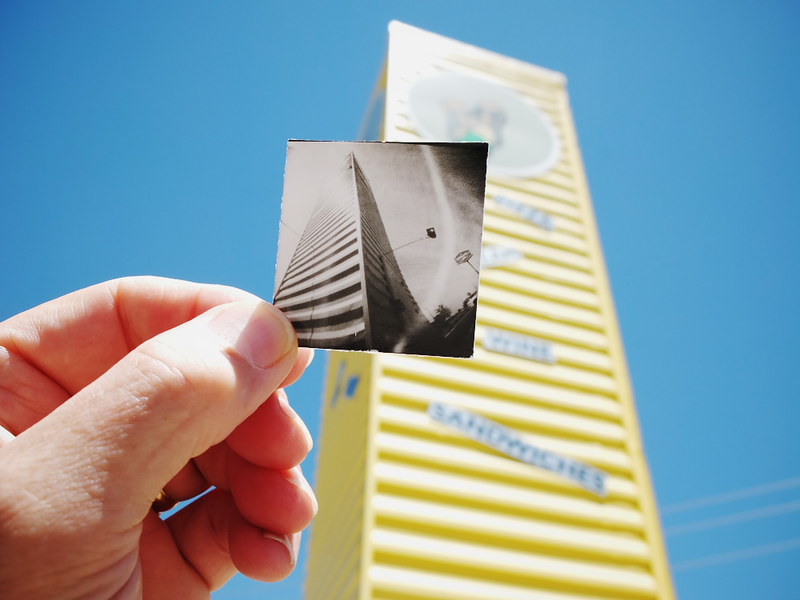
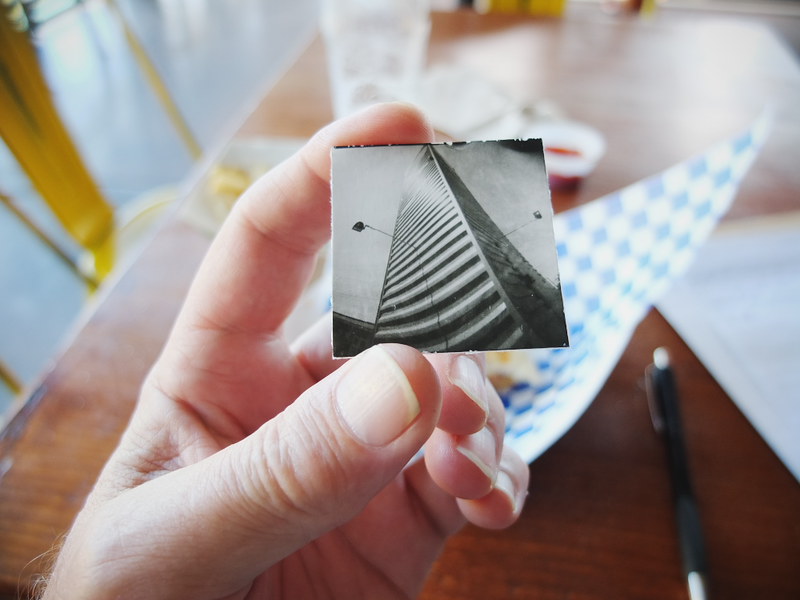
Last week, I made a visit to the Green Jeans Market in Albuquerque, a cluster of cafes and shops made from metal shipping containers, situated in a bit of land adjacent to Interstate 40, and made a few pinhole exposures; today, I returned to the scene of the crime, prints in hand along with a digital camera, fountain pen and notepad, to document these thoughts, while having a bite of lunch.

Now, since constant improvement (or, at least, spurious innovation) has been a continual part of my photographic journey, I've been thinking about the possibility of a combination pinhole camera and developing tank. Since I have several spare 35mm steel processing tanks, the thought came to me that, were I to drill a hole in the side of one of these tanks, then outfit it with some sort of liquid-proof pinhole/shutter mechanism, that I could expose and process a single, larger Harman Direct Positive print in said tank. I can imagine carrying a little box of small containers of processing chemicals, along with my little rotary base.

I can imagine a scenario like this: I visit some photogenic locale, such as this Green Jeans Market area, and expose one image. Then I retire to the cool comfort of Santa Fe Brewery's upstairs seating area, burger and brew at hand, and proceed to process said pinhole print at my table, between mouthfuls of greasy burger, washed down by a cool beverage that might resemble, were it not for the carbonation's bubbles, a glass of expired developer; best not to get the two confused. The result being - what? - a wet print that still requires a lengthy archival wash, then taped to a sheet of glass to dry for an hour or two in a drying cabinet?

DSCF5020a

This is where the needle scratches the record, where the whole idea falls flat on its face and I all too easily express my frustration that Harman/Ilford refuses to make an RC paper version of this wonderful positive photographic medium. For with a resin-coated, direct positive paper, the possibility remains of having finished, dry, one-of-a-kind positive pinhole prints in-hand at said brewery table, after a brief water rinse, squeegee and air dry, again between mouthfuls of greasy burger, washed down by cold brew. Which opens up the possibility of being able to create portraits on-location, reminiscent of those street portraitists of old, who would prowl the dark nightclubs of the 20th century in search of couples who wished to document their nocturnal encounters.

For now, the dream remains but a dream, and I have to be satisfied to return home to process these prints to completion. Yet I continue to dream these dreams, incessantly, never giving up hope for the things that could be, for that is what the joy in life is made of.

Monday, June 20, 2016

Words and Pictures

P1000645a

Words and pictures. Images both literary and visual. These have been considered so similar that the verbiage used to describe them seem to be synonymous. Word pictures. A picture is worth a thousand words. Terms almost interchangeable. It should come as no surprise then that the devices we've made to construct words and images together seem to operate so similarly. Today, digital images and text files seem virtually the same, mere data, slung around networks of optic fibers and copper wires.

Looking backwards is often required to see forward. So it is when combining gelatin silver paper prints and typewriters; or, gelatin silver prints of typewriters, two technologies that seem so like-minded.

A few years ago, when I was delving deep into the world of paper negative photography - employing silver paper as a form of in-camera, black & white "film" - I began looking for alternative methods of displaying these as positive images. Two obvious ways were contact printing them, in the darkroom, onto other sheets of silver paper; or scanning the negatives to produce digital files, to be inverted later via software into positive images. Both methods have their benefits. The first produces a physical print, while the second is intrinsically software-based.

But then I came up with a third method, similar to digital scanning, but employing a handheld digital camera; placing the paper negative into some setting or scene, perhaps related to the original image, and often outdoors; photographing the paper negative within the larger scenic context; then inverting the tones of the image afterwards, to produce a positive monochrome image set inside an otherworldly appearing scene, a shifted color palette of negative tones, a reversed world where the real is imaginary and the imaginary real.

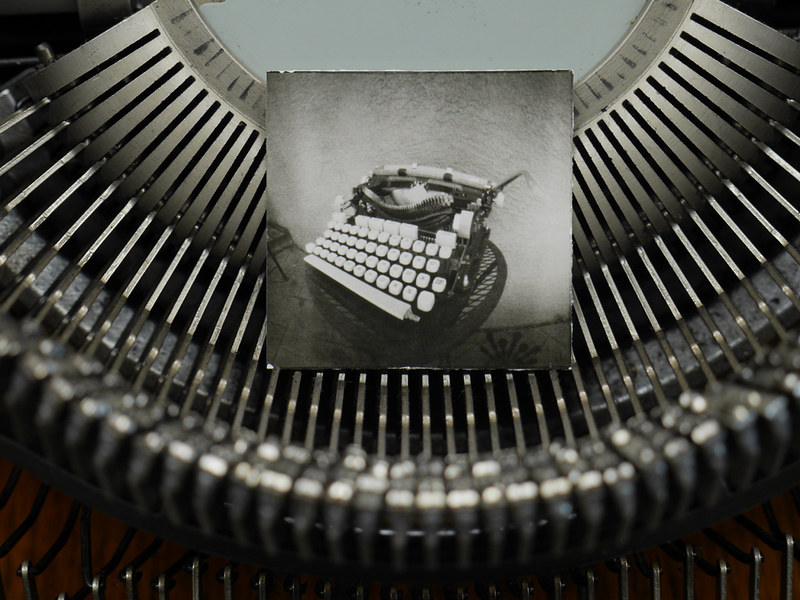
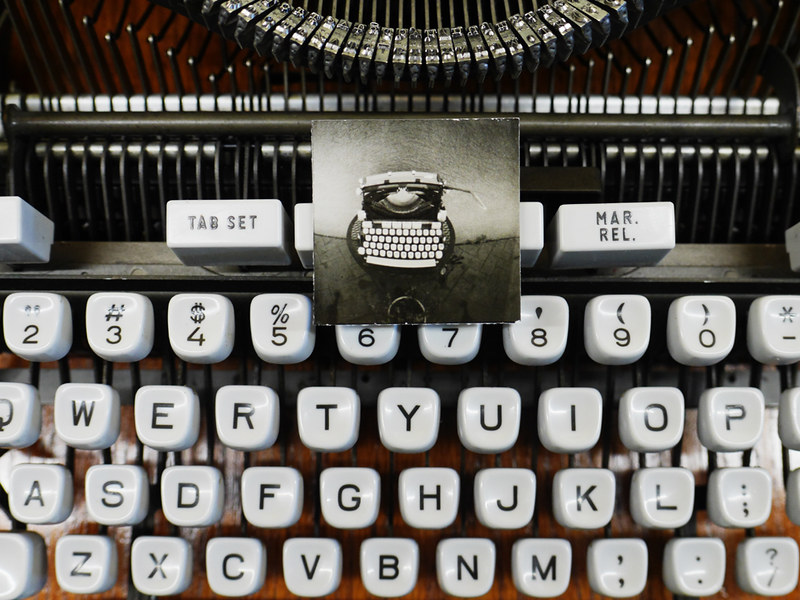
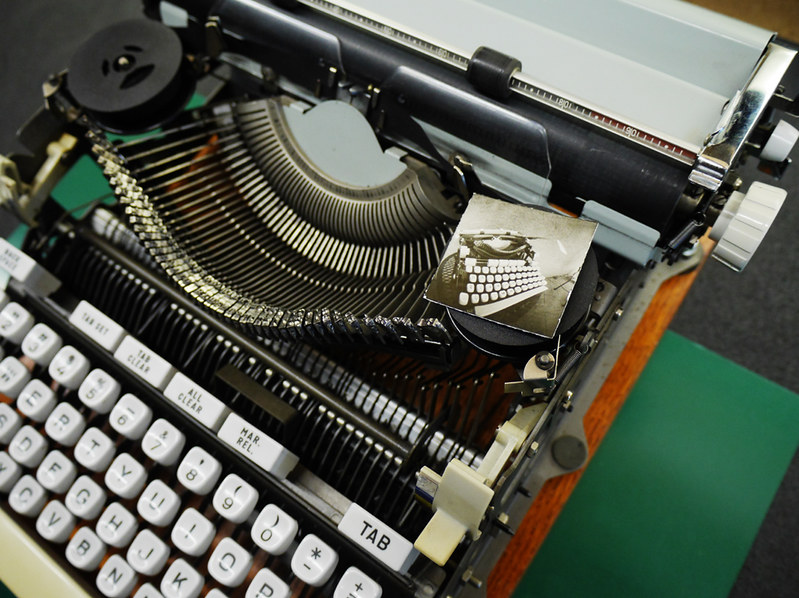
Since that time, I've been working more regularly with Harman Direct Positive paper, that produces a positive image requiring no tonal reversal afterward. But the idea of digitizing these prints, by photographing them in some larger context using a handheld digital camera, persists to this day. So it was that, after making this small study of my Hermes 3000 "Nekkid-Riter" chopped typewriter, using small squares of the Harman paper in my film canister pinhole cameras, it seemed obvious that sharing these prints online might be more interesting done this way than by merely scanning.

P1000646a

The process I use to make these prints, now that I've worked toward refining it, is so simple as to almost be silly. Give the paper a brief pre-flash of even light in the darkroom, then load into the film canisters. Rate the paper at an exposure index of 10, and the pinhole cameras at F/128. Meter the scene, make the exposure based on the metered reading. Load paper into a steel film developing tank, minus the reels, using loops of drafting tape on the backsides. Three such prints can easily be processed simultaneously. Mix Ilford MG paper developer, diluted at 1 + 15, to a volume of 100mL. Use continuous rotary processing, using the film tank on its side, for 3 minutes. Stop, fix and rinse as normal. Dry for an hour or two on a sheet of glass, taped down on the edges with more drafting tape. Done. Beautiful, individually unique gelatin silver positive prints.

P1000647a

I might say that the typewriters themselves, though each are as unique as the Harman positive prints, are a bit more complex. They aren't being manufactured, and spare parts are only to be found from other, donor, machines. Platen rollers can be resurfaced, and new ribbons are easily available, however. But the machines themselves are to be found online, at local thrift stores, Craigslist ads or estate sales. They almost always need some kind of service in order to be functional; at the very least, a thorough cleaning, degreasing and relubrication, then often some adjustments have to be made. Lots of hands-on fiddling, but also very satisfying when the typewriter collector/user also becomes a typewriter technician.

Typewriters also have a functional use, which is to mechanically print letters neatly onto paper. They're like film cameras in this regard, made to do but one thing, to lay down images of the literary kind. Which brings us back to where we started, with words and pictures.

Tuesday, June 14, 2016

Film Canister Pinhole Camera Project Update


P1000583a
Three new prints from the film canister pinhole camera project

It's been a few weeks since I began delving into this film canister pinhole camera project, and along the way I've made a few improvements and changes, which I'll share with you today. As you might recall, I was having issues with the black tape used as the shutter on these small cameras, because being adhesive, as you peel off the tape it's very easy to move the camera, resulting in a blurry image. Also, because the canisters are made of soft plastic, they shouldn't be gripped too tightly, which might cause their caps to pop off and fog the paper inside.

So I had to find an alternative, more mechanical, form of a shutter device. I had some ideas, but was also helped by readers of this blog and viewers of my You Tube video. I ended up making plastic sleeves that fit snugly around the periphery of the cameras, that slide up and down to control the exposure. These were made from the black plastic dark slide sheets that get ejected from the Fujifilm Instax Wide instant film cassettes, which I've been saving for a purpose such as this.

P1000574a
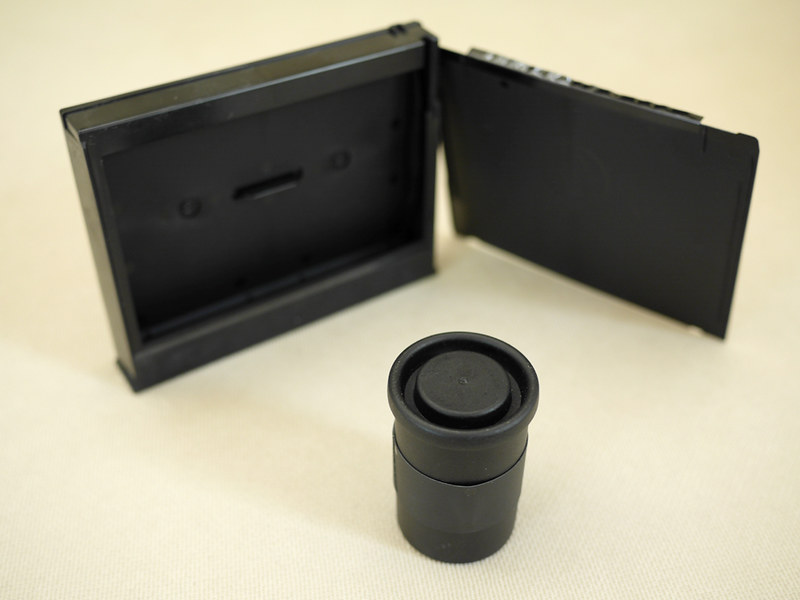
Fujfilm Instax Wide empty cassette and dark slide

I trimmed the edges of these dark slides so they were square, then into 18mm wide strips, that were then taped to the canisters using gaffers tape. They weren't quite long enough to extend all the way around the periphery of each canister, thus I used a thin piece of gaffers tape mounted backwards on the middle section of each piece of gaffers tape to prevent the tape from binding on the body of the film canister. Because the canisters are slightly tapered, the shutters fit snugly in place, and can be easily raised up into the exposed position without moving the canister on its magnetic mount. Once the exposure is complete they push back down into the closed position easily.

P1000576a
Shutter in closed position

P1000575a
Shutter in open position

I also made a change to my exposure method. I usually set the meter to the Harman Direct Positive paper's ISO (I use a value of 8), then reference the exposure time recommended by the meter opposite f/128 and apply a correction factor to account for the difference between the cameras' focal ratio and the f/128 metered value. For these cameras, whose focal ratios were around f/120, that correction factor was about 0.94. What I did this week was to artificially rate the paper's ISO at 10, instead of 8, and directly reference the exposure time for f/128, without applying any correction factor. This enables me to arrive at the correct exposure times without having to resort to the use of a calculator, which streamlines the process when out in the field.

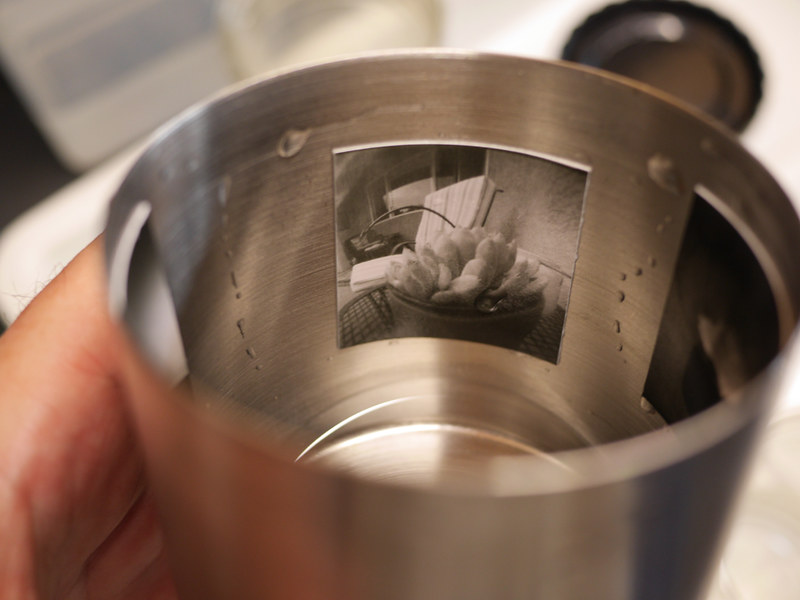
Another problem I'd been having were intermittent scratches or gouges in the prints, revealed as small white marks, which turned out to be caused by the sharp edges of the radial struts of the steel film reels. As you might recall, I process these small prints, rotary-style, using a steel 35mm film developing tank employed as a makeshift rotary drum. I'd place the prints in the gap between the reels and the inside surface of the tank, emulsion side facing inward. What I did this week was to entirely remove the reels and instead apply a small loop of drafting tape on the reverse side of each print, to assist in adhering them to the inside surface of the tank while processing; the tape is sticky enough so the prints don't come loose while processing, yet are easily removed afterwards without harming the paper or leaving residue.

As you might recall from previous videos, I process the Harman Direct Positive paper for three minutes, rotary style, using Ilford Multigrade or Universal paper developer diluted 1 + 15, for a volume of 100mL.

P1000578a
P1000577a
Two of the prints, right after the tank has been opened post-processing

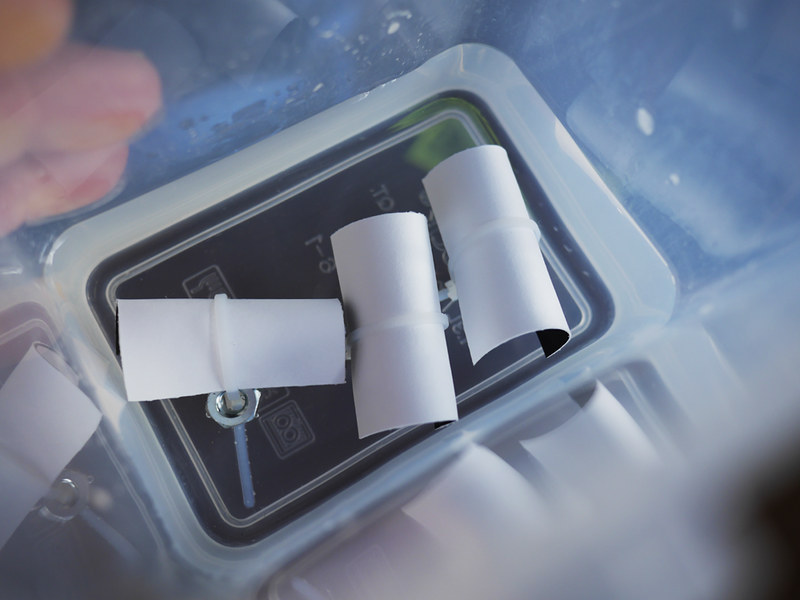
Because these prints are so small, they don't stay immersed in the rinse bath, since they have a larger edge length-to-surface area ratio. Therefore I made these weighted cable-tie loops, within which each print is curled, taco-style. The prints are bent along their natural curve axis. They stay nicely immersed in my rinse tank; which I take outdoors and, using a garden hose under my tree, water my landscaping instead of wasting the rinse water down the drain - I do live in an arid climate, where fresh drinking water is precious.

P1000579a
Paper rinsing clips in the rinse tank

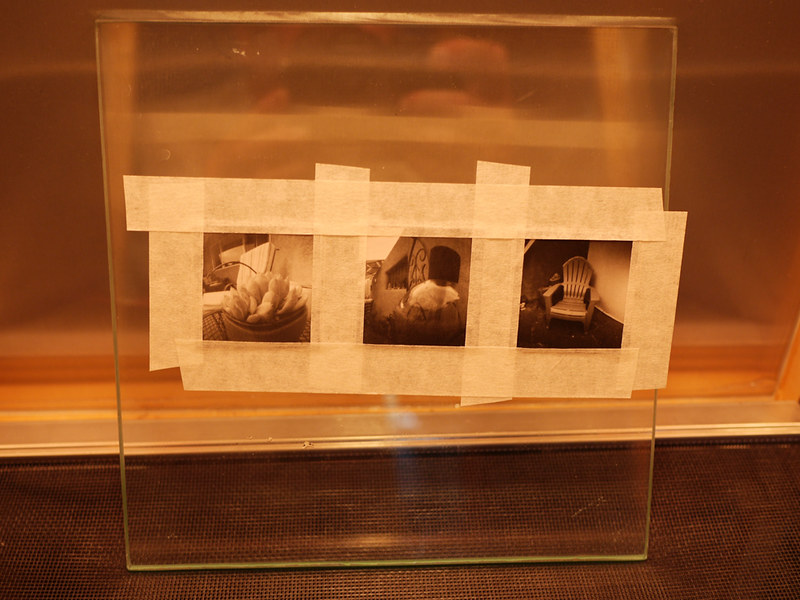
I use the same drafting tape mentioned earlier to mount the prints on a sheet of glass, where they dry inside my film drying cabinet and end up very flat; while afterwards the tape is easily removed without damage to the emulsion.

P1000580a
Prints drying on a sheet of glass in the drying cabinet

I tested this new methodology with three of the canister cameras, the results which you can see in the top photo. Going forward, this is going to be a very fun kit to employ in creating these miniature photographic gems.

Monday, February 1, 2016

Custom Roller Base Project

P1110635a
For a few years now, I've been working with the Harman Direct Positive Paper, a silver gelatin, fiber based, black & white print paper that has a direct positive emulsion, meaning that it can be directly exposed inside of a camera to produce, after development using standard chemistry, a one-of-a-kind print. There was a point in time, for about a year, when the paper was out of manufacture, due to a chemical supplier going out of business and another source having to be found, but now it's once again being made, and supplies are plentiful.

I've created one-of-a-kind prints using this medium in a variety of sizes, from sub-miniature Minox-sized to 8"-by-10". While the larger formats require either tray development in a darkroom setting or a large processing drum, and the Minox-sized prints were best handled in small containers in a darkroom, it is in those intermediate-sized formats, from 35mm to 4"-by-5", that I've done most of my work with this paper, and hence would like to find more convenient working methods.

One of the main issues I have is during the winter months, when my unheated, garage-based darkroom requires considerable time to warm up using a space heater, precluding spur-of-the-moment boughts of darkroom creativity. What I'd like is at least a way to work with the Harman paper in the convenience of my kitchen.

While I do have a Jobo processing drum for 4"-by-5" prints, the associated manual roller base is a rather pricey and fragile item. However, for smaller-sized prints - such as those cut to custom sizes for loading, one-at-a-time, into small and medium format cameras - there is no custom-fit processing tank available.

Several years ago, in a fit of inspiration, I decided that I might be able to use a stainless steel 35mm developing tank as a makeshift rotary processor for these special-sized smaller prints. The idea was that the reels would be kept inside the tank and the paper would be slipped into the gap between the outside of the reels and the inner surface of the tank, with the emulsion facing inward. With the lid installed, an adequate quantity of chemicals - about 100mL - can be used for processing without sloshes spilling from the lid, as the tank is oriented sideways and continuously rotated.

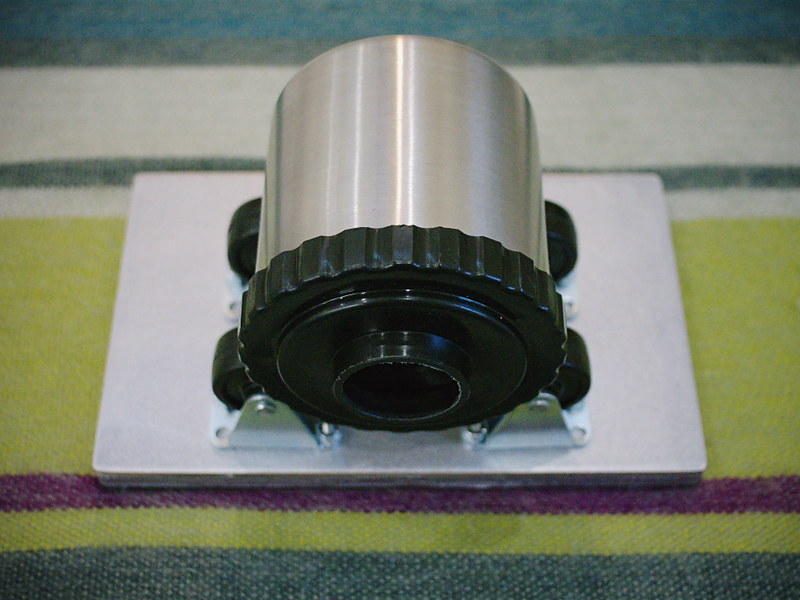
What I needed to make this work was a roller base. I had the Jobo base for my larger formats, and I figured out how to rearrange the roller brackets to make it work somewhat for the smaller steel tank, but I wanted a dedicated solution, so I wouldn't have to keep re-configuring the Jobo roller base; it being made of plastic, I was concerned the pieces would eventually break.

And so last week I went to the hardware store and looked for some caster wheels. I noticed there were three kinds, two of which were unusable because the wheels swiveled on bearings. I wanted wheels that rolled on a fixed support mount but didn't swivel. I found what I was looking for, and went immediately to my workshop to begin fashioning the roller base.

I first had to figure out how to properly space the four wheels. So I used an old scrap piece of plywood as a test base and, using clamps, tried various configurations with the wheels and steel tank until I found an optimal configuration where the tank easily rolled on the wheels. I then measured the positions of the wheel brackets and transferred those measurements to the nice piece of plywood, that I had prepared ahead of time by spray painting a metallic silver color.

I countersunk flathead screws through the bottom of the base, with the holes tapped to fit, and used nylon locking nuts to secure the wheels. The bottom I covered in a sheet of rubber matting material via a hot glue gun, making for a nonskid, water-resistant surface.

The result is a roller base custom fitted to my stainless steel developing tank, with which I can continue in earnest creating more small-gauge, silver gelatin, direct positive prints.

I also created a video about this project, which I encourage you to watch.


I've always been intrigued by small-format black & white prints. I can recall a time, about 15 years ago, when I saw an exhibit of Edward Weston prints at the Portland Art Museum. I was absolutely stunned by the quality of the work, the physical appearance of the prints and their intimate, diminutive size. You needed to get in close to them, in order to properly appreciate their beauty. In turn, that physical intimacy allowed one to perceive them as real objects, with real physical attributes such as surface finish and tone, rather than mere image files.

I believe in this age of media over-saturation that we need to reconnect to the tangible reality of the physical art object itself. Direct positive prints, made on a gallery-quality substrate of Ilford's best double-weight, fiber-based photographic paper, represent just such a medium, ripe for further exploration.

I'm hoping that projects such as these will provide you with the inspiration and tools necessary for you to pursue your own exploration of the world of direct positive photographic prints. I'd like to hear about you work, so leave a comment if you can.

Sunday, January 24, 2016

The Rediscovery of New Beginnings

P1110608a
It might seem almost a cliché to say this, but sometimes one has to lose something in order to gain something else. Or, to paraphrase another adage, out of loss comes new beginnings.

No, I'm not referring to some personal tragedy; I've lived a rather sedate life, if truth be told. No, this has more to do with the idea of lost opportunity, of the promise of unlimited creativity squashed by life's inertia, perhaps.

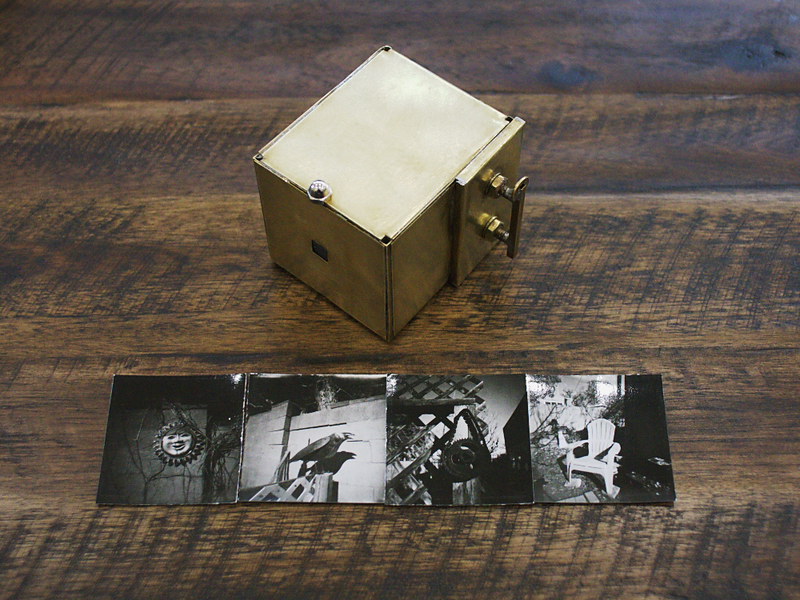
Some time ago I had created a video for my You Tube channel, within which I made mention of, and demonstrated, a small, brass pinhole box camera, designed to make small images onto two inch square pieces of photo paper or film, taped to little brass film plates that fit into the camera via a changing bag. A humble little camera, it had seen much use about a decade ago, and promised much more, but since then has been relegated to the storage bin, acquiring the patina of disuse. Alas, such is life, so full of opportunities missed or squandered.

But then something curious happened. One of my video's viewers had recently contacted me, inquiring about possibly purchasing a copy of said camera. Thinking it over for a day or two, I finally decided that, rather than try to recreate a one-off camera design, why not just sell this very same camera? After all, it wasn't getting much use any more, being stowed away for all of these years, its last use only a distant memory in the back of my mind. I had recently been thinking about what to do with this sizable collection of pinhole cameras I've assembled over the years, that are no longer getting regular use, thinking of perhaps giving them away to some local school's darkroom program, if they'd have them, but never made any progress on the idea. In this newfound opportunity, I sensed that perhaps something better could come of it than what I would ever have accomplished on my own; the person wanting to buy it is a graduate photography student and aspiring artist, and so I am flattered to see this little gem of handiwork get a second lease on life in the hands of someone much more creative than myself.

But first I had to clean up the camera a bit, it being spotted and blotched from years of misuse; a thorough cleaning would prepare the brass surfaces for growing a fresh new patina, representing a true second lease on life. But also, I wanted to test out the camera a bit, to make certain that it indeed still worked as advertised, and also for the opportunity to include a few sample images along with the camera when I shipped it; I had never before used it with Harman Direct Positive Paper, and was anxious to try it out. I also wanted to experience working with it one last time.

In deciding to make these test images using the Harman paper, I was reminded that normally I wouldn't use this paper in a pinhole camera, due to its extremely slow speed in cameras whose focal-ratios might be well into the hundreds, which in my past experience has required extended exposure times, even in bright sun, of well over a minute or two. But this little camera has a focal ratio of only F/140, sufficiently fast to permit an exposure time of only 15 seconds or so in bright winter's daylight.

The resulting prints startled me in their quality, I must admit. No, I don't really have seller's remorse; I'm happy to see this camera go to a better home, where it will, at long last, see its purpose in life fulfilled. But in the process of letting go of it, I had gleaned a newfound appreciation for how beautiful a small, well-crafted direct positive pinhole print can be. These images are small, certainly, but also sharp - startlingly so; enough so that one would be hard pressed to tell that they had been exposed in a pinhole camera at all.

This last week I've been preparing the camera for shipment to its new owner, including making a wooden base upon which the camera can be mounted securely to a tripod, and through this process I began thinking deeper about these pristine little prints produced by this humble brass box, thinking that perhaps I need to dig out of the storage bin another small-format pinhole camera (or, dare I say it, make yet another?) and try my hand again at more of these diminutive direct positive prints. There's something intimate and personally familiar about these small, 2" square images; they don't cry out for attention with some ostentatious artistic pretension, like mural-sized prints in today's photographic galleries might; they're smaller than what one might view on one's own smartphone, even. You hold them in your hand, nestled in your palm ever so delicately, like a dried leaf or dead insect, and peer into them in wonder, like artefacts of some lost archaic process, up front and held close to one's self. They're small enough that you have to expend some effort in comprehension, but not so small that you need a magnifying glass.

I can see displaying these little prints matted to an oversized frame maybe eight or ten inches square, big enough to isolate them from their surroundings, to give each one the space they might need to breathe their own life and find their own context, with the help of the viewer's participation.

By the end of this week, this little camera will be forever out of my hands, hopefully in better charge of someone more intent on photographic creation than I; but what I've gained in exchange is a newfound appreciation for the power of small, pristine quality pinhole prints, and for that I'm grateful, considering myself richer for it.

A technical side note might be in order, pertaining to how I develop these little prints. Yes, one could easily do so in open trays in one's darkroom. But my darkroom these days is chilled by winter's cold, being located in an unheated garage, and so I prefer the convenience of using a developing tank in the comfort of my warm kitchen.

Those of you who've seen my You Tube videos might know how I do this, but for these small prints it involves taking a small metal 35mm developing tank and adapting it for use as a makeshift rotary processor. For one or two prints, I will keep the metal reels inside the tank and insert the paper, emulsion side facing inward, in the gap between the outer edge of the reels and the inside surface of the tank. Two such prints can be thus positioned, opposite each other so any potential movement won't cause them to overlap and interfere with their processing.

For three or four prints at once, I will remove the reels and apply little loops of painter's masking tape to the inner side wall of the tank, which will hold the prints into position, evenly spaced for processing.

Only 110 milliliters of chemistry are required for processing; I will typically use Ilford Multigrade or PQ paper developer concentrate, diluted "1+10," meaning 10mL of concentrate into 100mL of water. Once the prints are mounted in the tank and the lid installed (requiring a changing bag or darkroom), the chemistry is poured in through the lid of the tank, which is then positioned on its side and gently but continuously rotated for the duration of the processing time. This particular volume of chemistry is more than adequate to process four prints at once, while being insufficient to cause the liquid to slosh out of the lid while being oriented sideways and rotated. In a rotary process, instead of the tank being completely filled with chemistry, as you would with roll film, you only need this small volume, enough to just periodically submerge the paper as the tank is continuously rotated.

It helps to have a roller base upon which to spin the tank; while automated systems can cost thousands of dollars, and you can purchase a manual Jobo roller base for upwards of $50 or more, it's possible to make such a manually-operated base yourself, using parts readily available from the hardware store, which I'll cover in a subsequent article and/or video. But even without a roller base, you can simply lay the tank on its side and slowly rotate it on your kitchen countertop; use a cutting board or other thin piece to elevate the body of the tank far enough above the work surface so that the lid of the tank overhangs the edge of the board, with the opening pointed over the edge of the sink in case of spills, permitting it to rotate easily, while remaining level. Also, a terry cloth or similar dish rag on the cutting board can often help the tank rotate easier.

I have three such stainless developing tanks, and have noticed that two of them leak slightly from the edge of the lid when placed on their sides and rotated, and so I only use the third tank as my dedicated mini-rotary processor; if yours leaks, just take the necessary precautions.

I should mention, when working with fiber-based print paper such as Harman Direct Positive, of the need to adequately rinse the paper after processing, in order for it to be considered archival; otherwise the fixer chemicals will remain within the paper fibers and, over time, degrade the paper; because of their plastic coating, RC papers have less of an issue with this, but Harman Direct Positive only comes in a fiber paper version. For this reason it is advisable to use a rinse aid after the fixer and initial rinse, to help shorten this required archival rinsing time and conserve water.

After the final rinse, the paper needs to be squeegeed off so its front and back surfaces are just damp, then use a hair dryer to dry those surfaces; the inner paper will still be wet, however, and thus the paper will need to be thoroughly dried. When doing so, fiber-based paper has a tendency to severely curl toward the front side of the paper, due to emulsion shrinkage. To prevent such curl I will, after squeegeeing and blow drying, tape the prints face-up to a sheet of glass, using drafting or artists tape along the very edges, then place it in a warm, clean area for several hours. Periodically check on the paper and, if needed, reattach the tape if it starts to peel up from the glass due to the paper's curling. If done properly, you can get fiber prints to dry very flat using this method, without the added expense and bulk of a dedicated print drying machine. Making do and improvising is the secret to success with these legacy processes.

It's difficult to adequately describe the joy I experience when I open up the developing tank after one of these short 10-minute processing sessions and behold these pristine little gems still wet in my hand. It's something about their diminutive size and unexpectedly sharp appearance that gets me every time. I invite you to experience the joy of pinhole photography for yourself, the rediscovery of new beginnings.