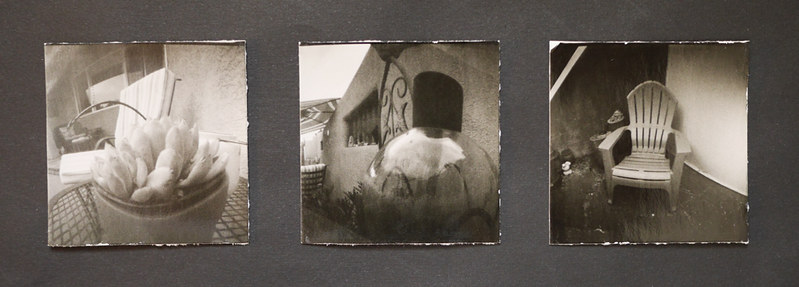
Three new prints from the film canister pinhole camera project
It's been a few weeks since I began delving into this film canister pinhole camera project, and along the way I've made a few improvements and changes, which I'll share with you today. As you might recall, I was having issues with the black tape used as the shutter on these small cameras, because being adhesive, as you peel off the tape it's very easy to move the camera, resulting in a blurry image. Also, because the canisters are made of soft plastic, they shouldn't be gripped too tightly, which might cause their caps to pop off and fog the paper inside.
So I had to find an alternative, more mechanical, form of a shutter device. I had some ideas, but was also helped by readers of this blog and viewers of my You Tube video. I ended up making plastic sleeves that fit snugly around the periphery of the cameras, that slide up and down to control the exposure. These were made from the black plastic dark slide sheets that get ejected from the Fujifilm Instax Wide instant film cassettes, which I've been saving for a purpose such as this.
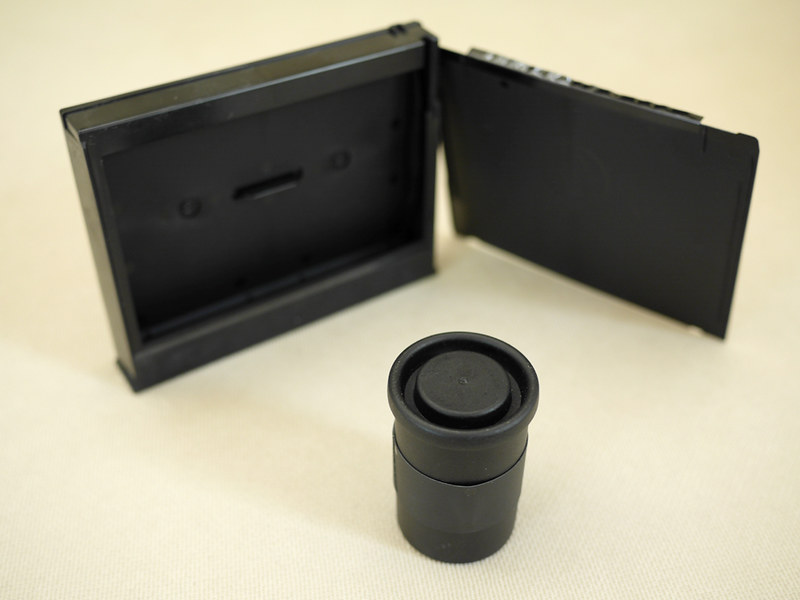
Fujfilm Instax Wide empty cassette and dark slide
I trimmed the edges of these dark slides so they were square, then into 18mm wide strips, that were then taped to the canisters using gaffers tape. They weren't quite long enough to extend all the way around the periphery of each canister, thus I used a thin piece of gaffers tape mounted backwards on the middle section of each piece of gaffers tape to prevent the tape from binding on the body of the film canister. Because the canisters are slightly tapered, the shutters fit snugly in place, and can be easily raised up into the exposed position without moving the canister on its magnetic mount. Once the exposure is complete they push back down into the closed position easily.
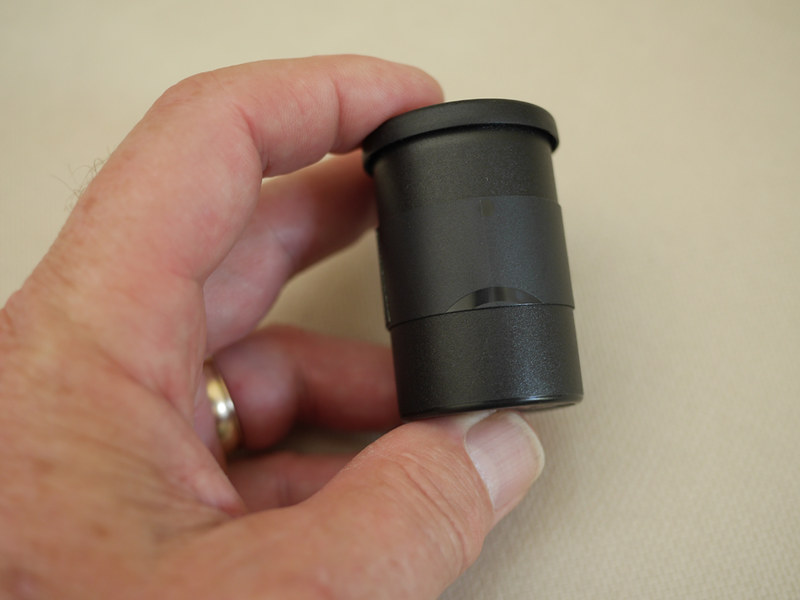
Shutter in closed position

Shutter in open position
I also made a change to my exposure method. I usually set the meter to the Harman Direct Positive paper's ISO (I use a value of 8), then reference the exposure time recommended by the meter opposite f/128 and apply a correction factor to account for the difference between the cameras' focal ratio and the f/128 metered value. For these cameras, whose focal ratios were around f/120, that correction factor was about 0.94. What I did this week was to artificially rate the paper's ISO at 10, instead of 8, and directly reference the exposure time for f/128, without applying any correction factor. This enables me to arrive at the correct exposure times without having to resort to the use of a calculator, which streamlines the process when out in the field.
Another problem I'd been having were intermittent scratches or gouges in the prints, revealed as small white marks, which turned out to be caused by the sharp edges of the radial struts of the steel film reels. As you might recall, I process these small prints, rotary-style, using a steel 35mm film developing tank employed as a makeshift rotary drum. I'd place the prints in the gap between the reels and the inside surface of the tank, emulsion side facing inward. What I did this week was to entirely remove the reels and instead apply a small loop of drafting tape on the reverse side of each print, to assist in adhering them to the inside surface of the tank while processing; the tape is sticky enough so the prints don't come loose while processing, yet are easily removed afterwards without harming the paper or leaving residue.
As you might recall from previous videos, I process the Harman Direct Positive paper for three minutes, rotary style, using Ilford Multigrade or Universal paper developer diluted 1 + 15, for a volume of 100mL.
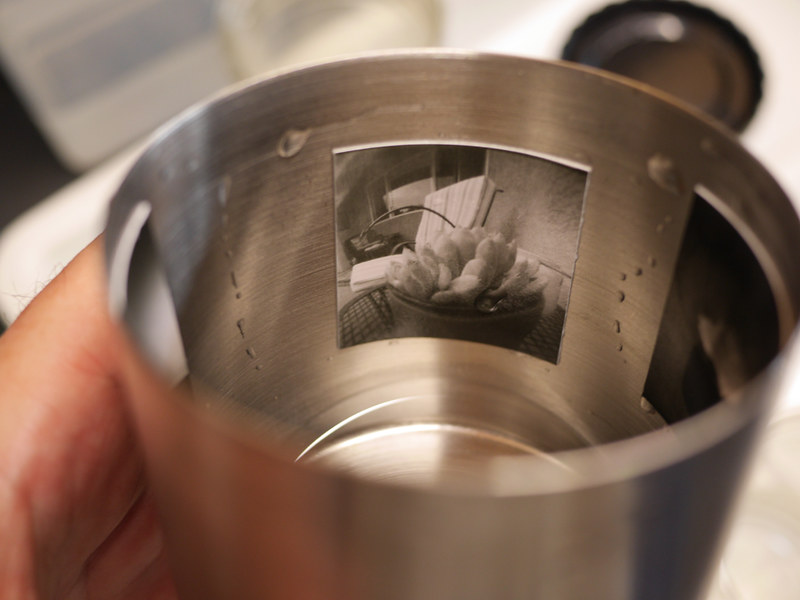
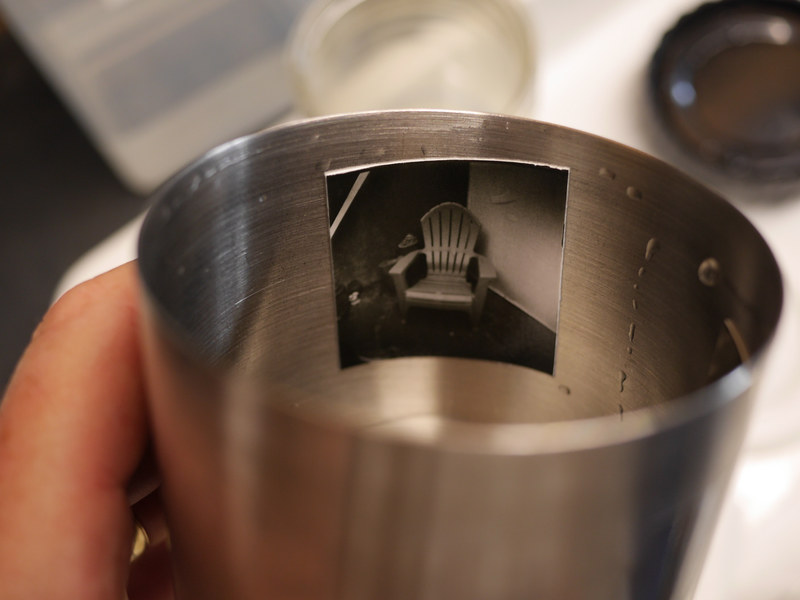
Two of the prints, right after the tank has been opened post-processing
Because these prints are so small, they don't stay immersed in the rinse bath, since they have a larger edge length-to-surface area ratio. Therefore I made these weighted cable-tie loops, within which each print is curled, taco-style. The prints are bent along their natural curve axis. They stay nicely immersed in my rinse tank; which I take outdoors and, using a garden hose under my tree, water my landscaping instead of wasting the rinse water down the drain - I do live in an arid climate, where fresh drinking water is precious.
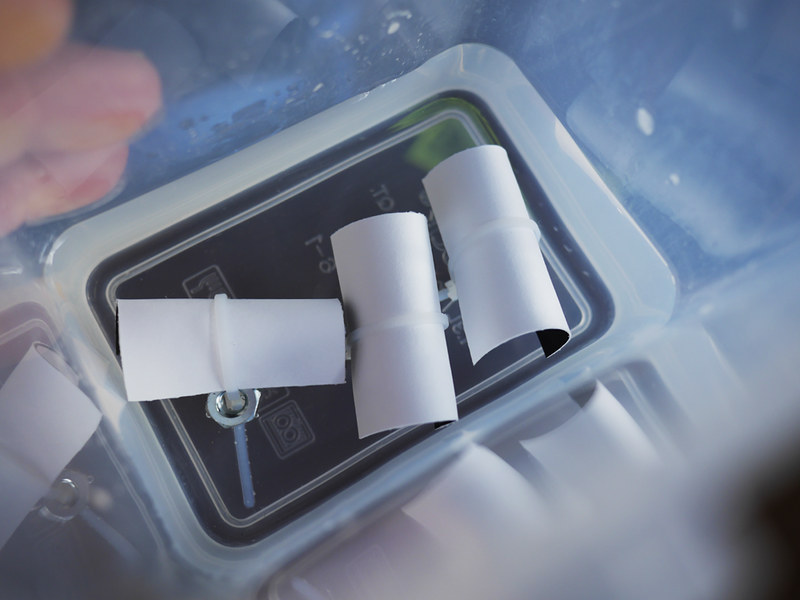
Paper rinsing clips in the rinse tank
I use the same drafting tape mentioned earlier to mount the prints on a sheet of glass, where they dry inside my film drying cabinet and end up very flat; while afterwards the tape is easily removed without damage to the emulsion.
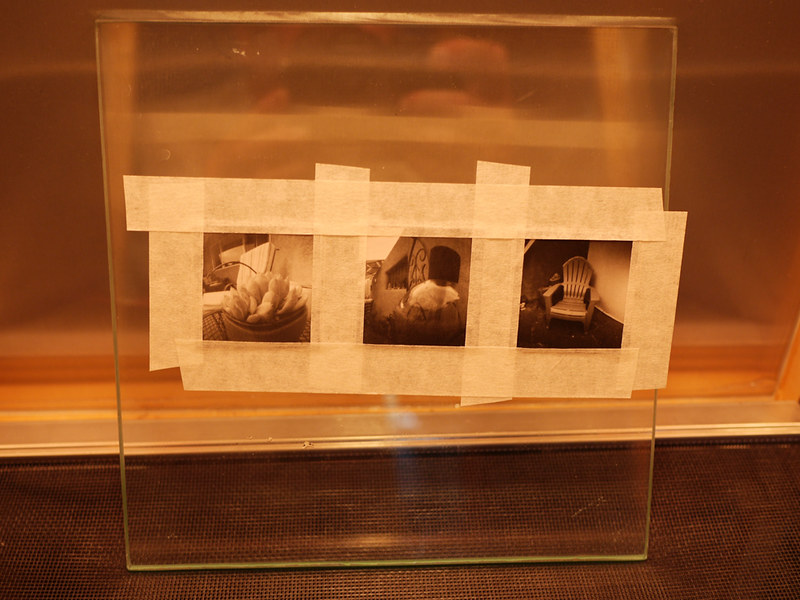
Prints drying on a sheet of glass in the drying cabinet
I tested this new methodology with three of the canister cameras, the results which you can see in the top photo. Going forward, this is going to be a very fun kit to employ in creating these miniature photographic gems.
No comments:
Post a Comment
Please leave a comment; I will curate them before posting.