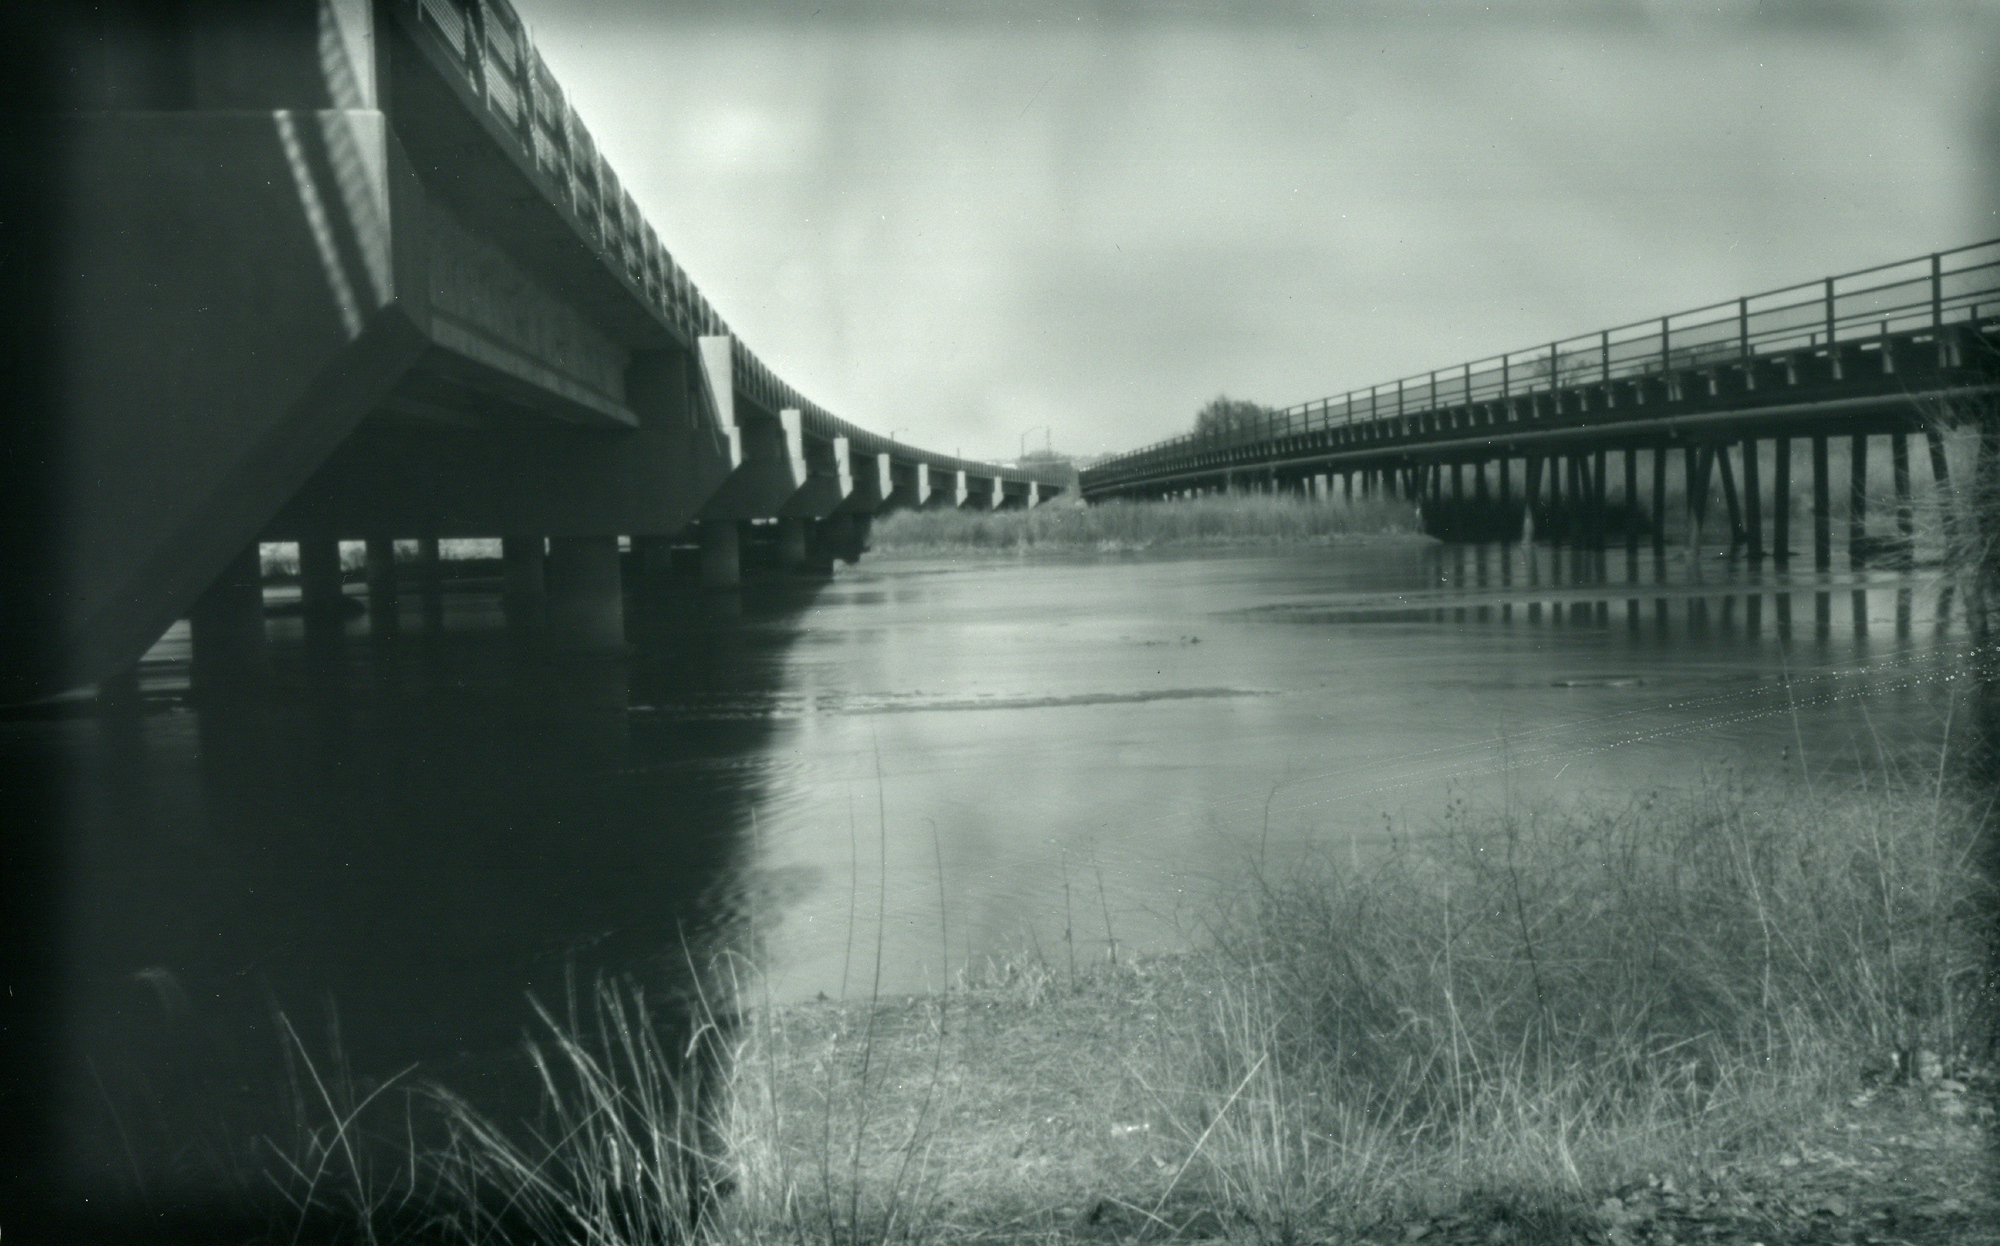
(Contact print of Arista 200 film negative. F/300, 5"x8" falling plate pinhole camera. Alameda Bridge, Rio Grande, near Albuquerque. Circa 2004.)
Let's go back in time, but not all the way to the beginning of my pinhole adventure; instead, we'll go back to 2004, when I had recently completed my third falling plate camera design.
Once a person begins to build and use simple pinhole box cameras, it becomes rather tedious to have available only one sheet of film or paper at a time. True enough, cameras can easily be made that use roll-film, permitting multiple images to be recorded in one outing, but my interests have always been in larger formats. One has to thus settle for making only one image at a time; or bringing multiple pre-loaded cameras; or a changing bag within which to swap out the film; or use sheet film holders. While I did have 4"x5" holders, I wanted larger images, and I didn't want to go to the expense of purchasing a number of larger sized film holders for this bigger sized camera; especially considering that, with a little ingenuity, I could figure out a creative alternative.
I didn't invent the falling plate camera, as they've been around since the 19th century, I later learned. But after much cogitating on the problem, I had reinvented the idea on my own. This version uses a stack of thin aluminum film plates, sitting upright at the rear of the camera, each with a film or paper negative affixed with tape. Each plate has a slot in the top edge, with the slots in the plates alternating left-right-left, etc. A sliding knob on the top of the camera operates a sliding pin, that prevents the front plate from falling until the pin is moved over to coincide with that plate's slot. With a little help, by tipping the camera forward, the front plate will fall face-down to the bottom of the camera, revealing the next plate ready to be exposed.
There are several caveats to this design. Most crucially, the camera has to be carefully handled and transported in an upright orientation, else the already fallen plates will move out of position and jam the operation of the subsequent plates; or the plates yet to be exposed might fall off their narrow ledge at the rear of the camera and jam up the works. Second, because the plates need to fall face down into the bottom floor of the box, the focal length is required to be greater than the height of the film format, precluding cameras with ultra wide angles of view.
Those limitations aside, this design eventually proved, after several modifications, to be quite reliable, and with it I subsequently made many successful images.
The film used in this image was a high-contrast orthographic film that could be handled and processed under darkroom safelights. The challenge, however, was always trying to tame the excessive contrast, especially in bright daylight scenes, since this film was intrinsically contrasty. At this time period I had yet to discover the magic of pre-flashing (to be covered in a future article) and so I was still at the stage of experimenting with techniques of minimal agitation and pulling the negative out of the highly dilute developer after an extended sit time. As a result of insufficient agitation, the sky areas of this image appear blotchy and streaked, while the edges are under-developed. But sometimes such accidents can reveal the unexpected, which I think works well in this example.
No comments:
Post a Comment
Please leave a comment; I will curate them before posting.